 You can build both these boats from the same STL set.
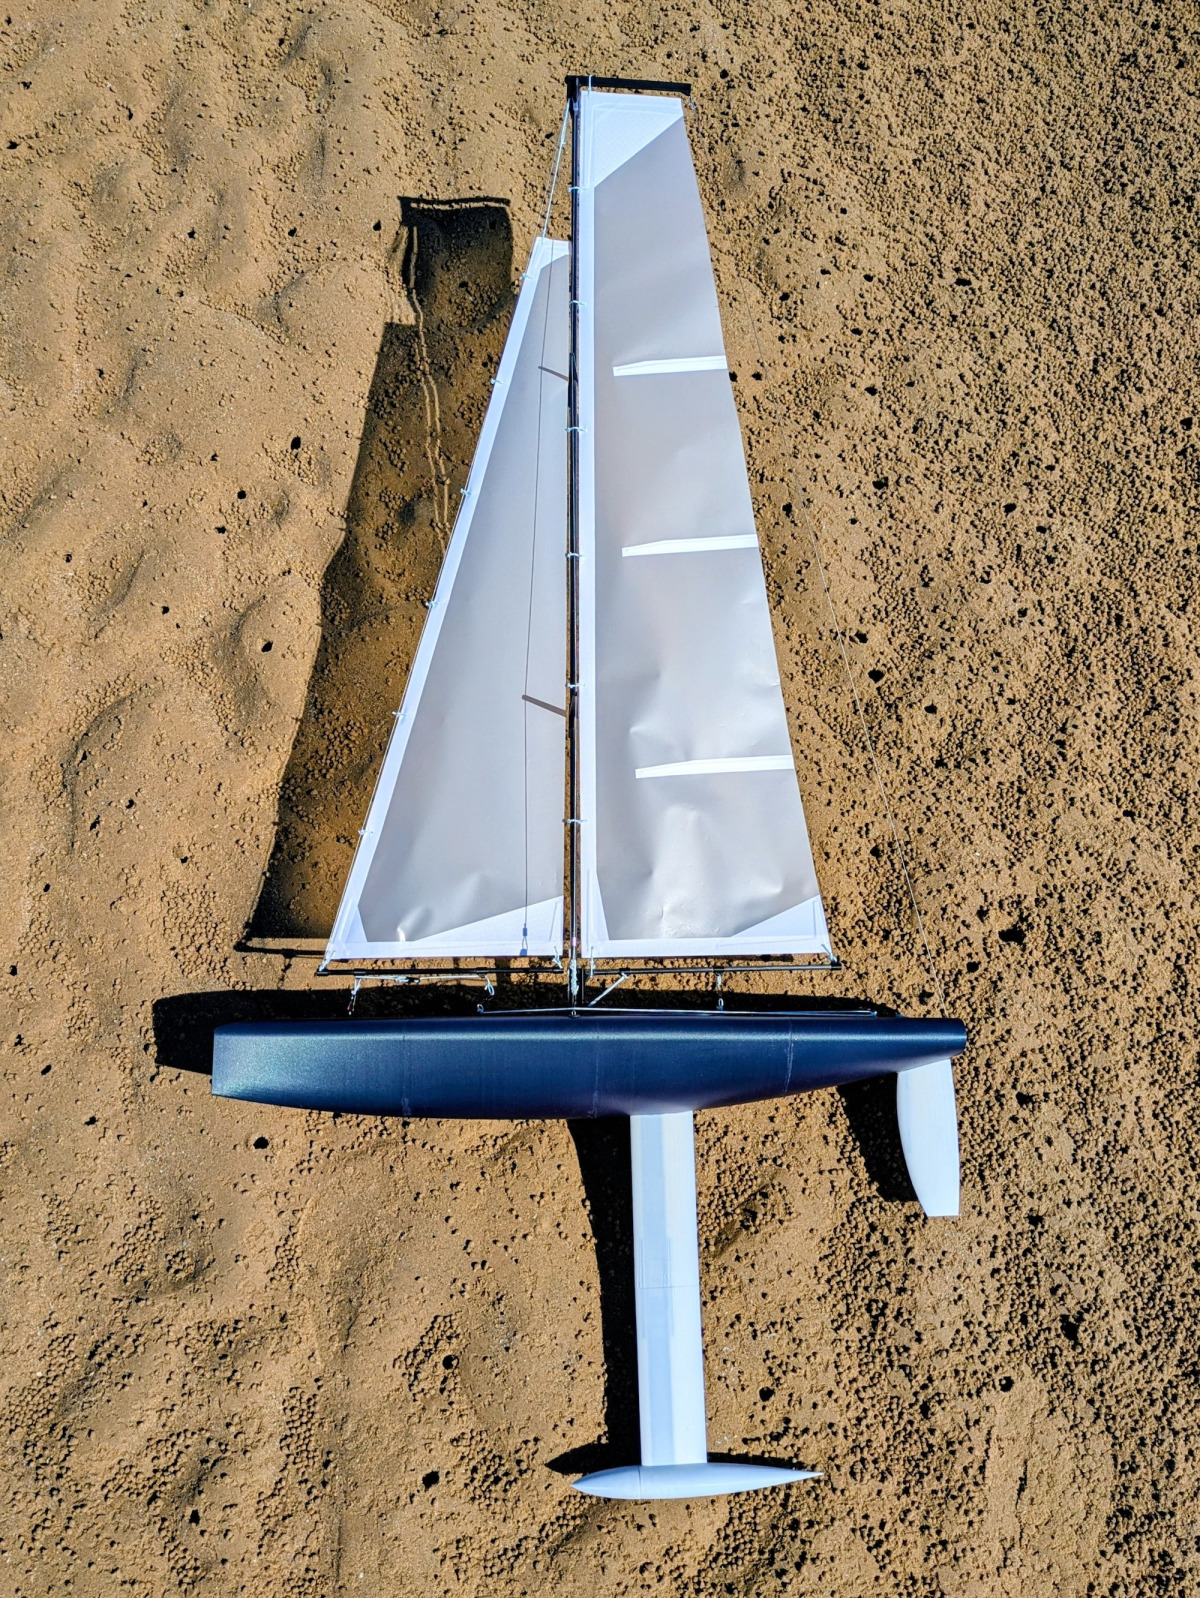
3D Printed RS-RG65
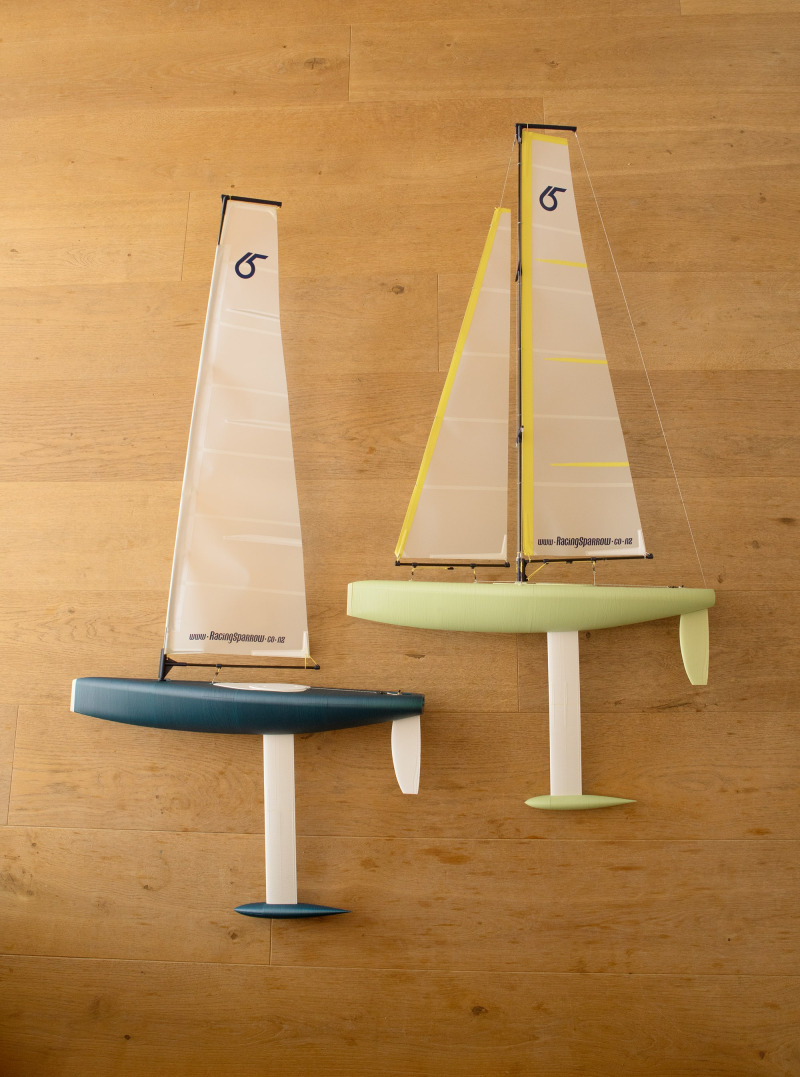
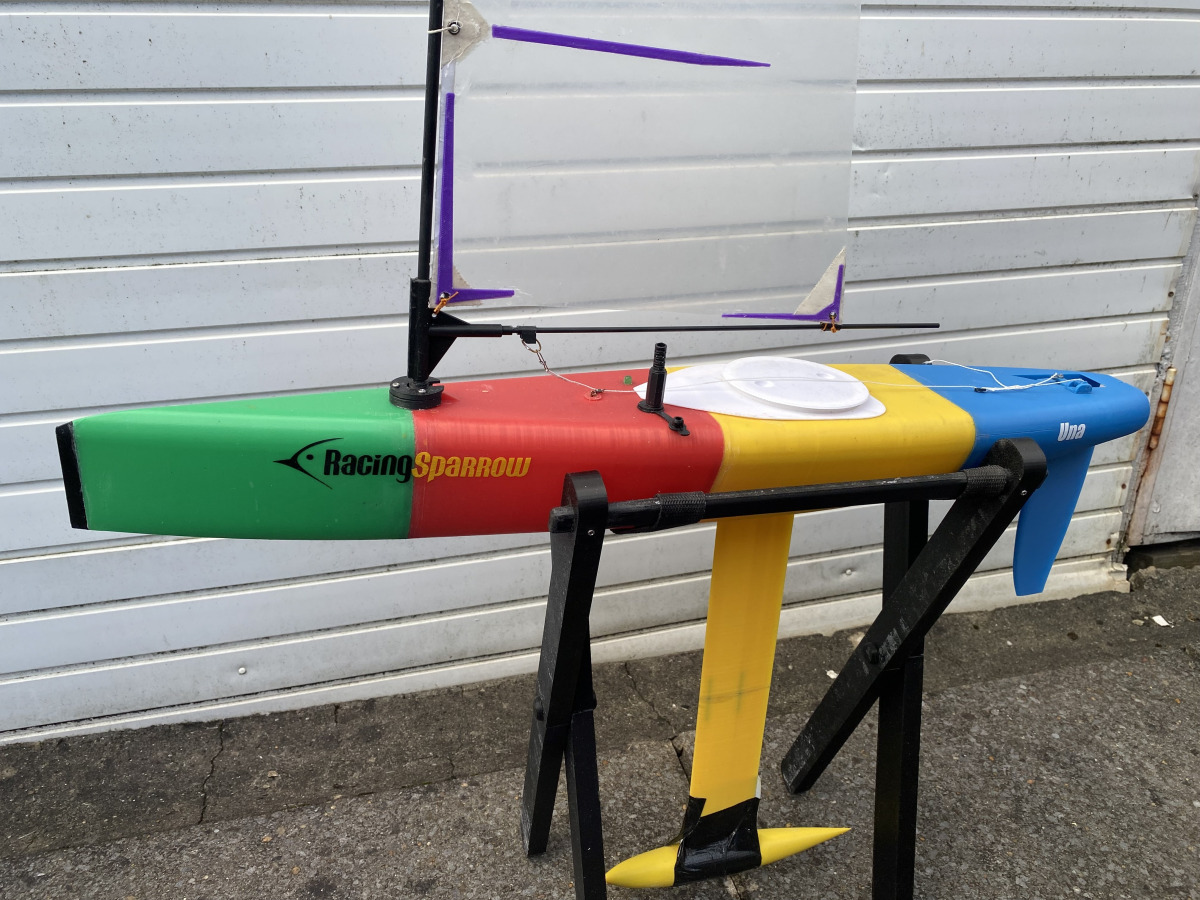
This RG65 class RacingSparrow can be built in two styles, a standard two sail rig or an Una single sail rig. The Una version is perfect for the beginner wanting a simple and cheap build, resulting in a durable - fast and fun boat to sail.
Materials & Build Instructions
Key design features:
- 650mm length, 138mm wide
- Bulb choice of 470g, 508g, 550g
- Keel length & position options
- Rudder choice of small, medium, large
- Printed rig fittings
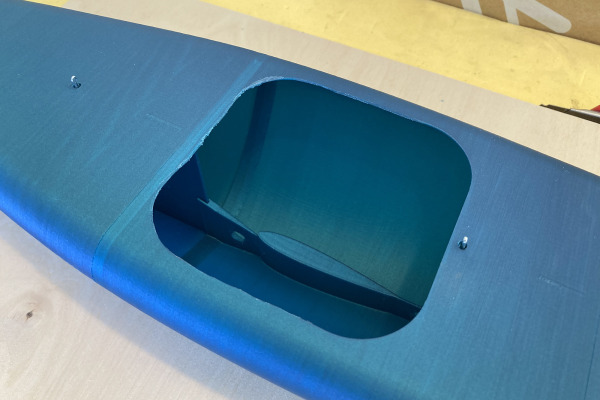
- Twist hatch for waterproofing
- Print Volume: 150 × 150 × 180mm (xyz)
- STLs: $22 USD Instant digital download
Standard Configuration
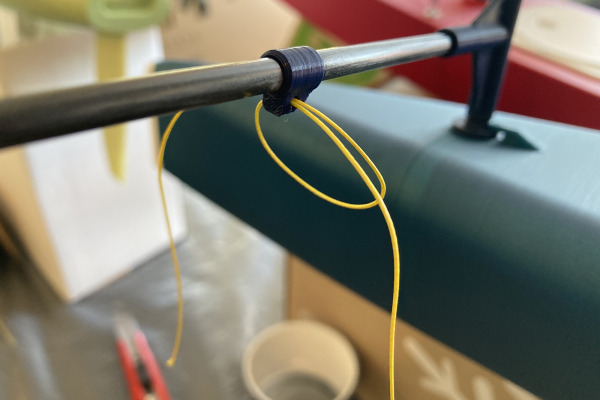
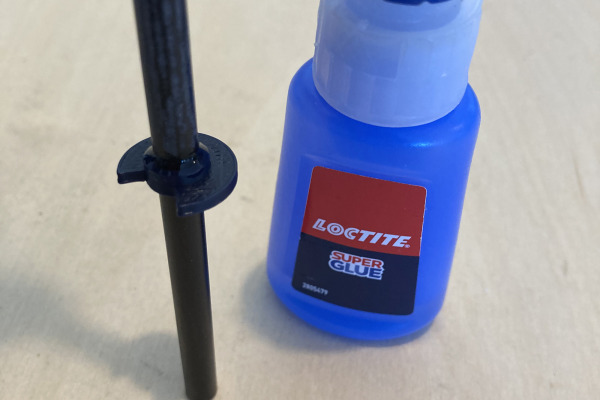
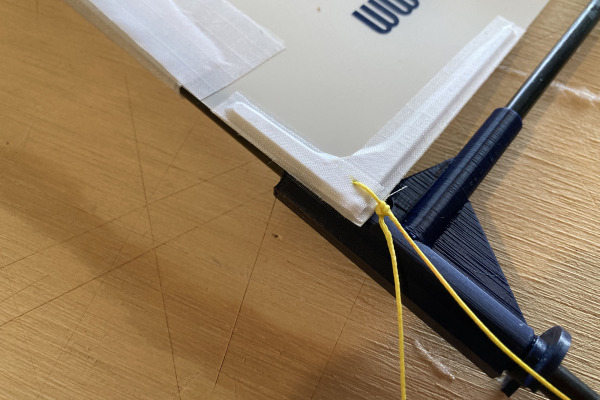
The files come with all the parts to build the boat as a standard rig boat. All gooseneck, mast and boom fittings are 3D printed STL parts.
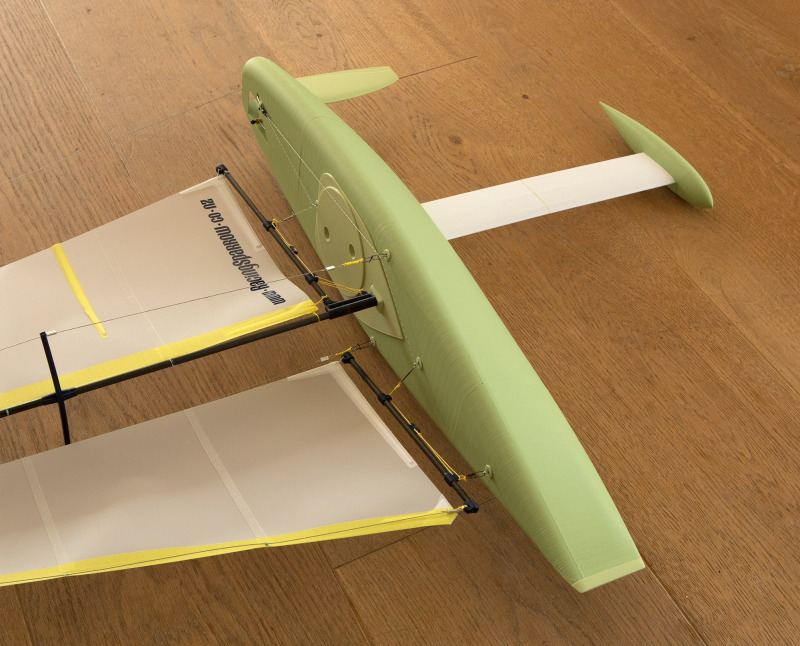
Una Configuration
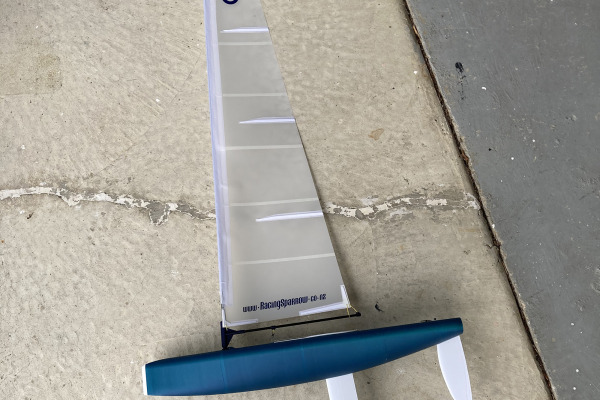
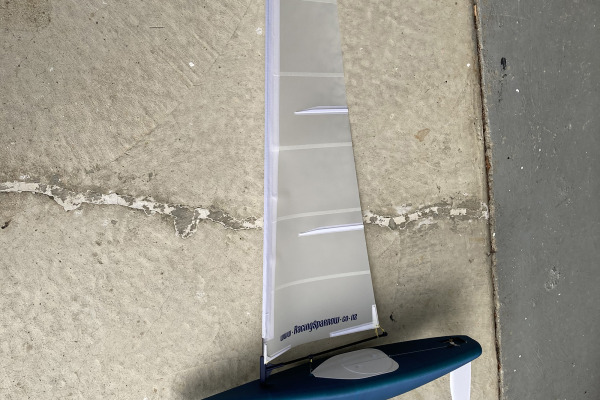
Or you can build the Una rig version which is the simplest way to build a Racing Sparrow RC Yacht. This rig has all printed parts and a reverse notched disk to hold the rig in place.

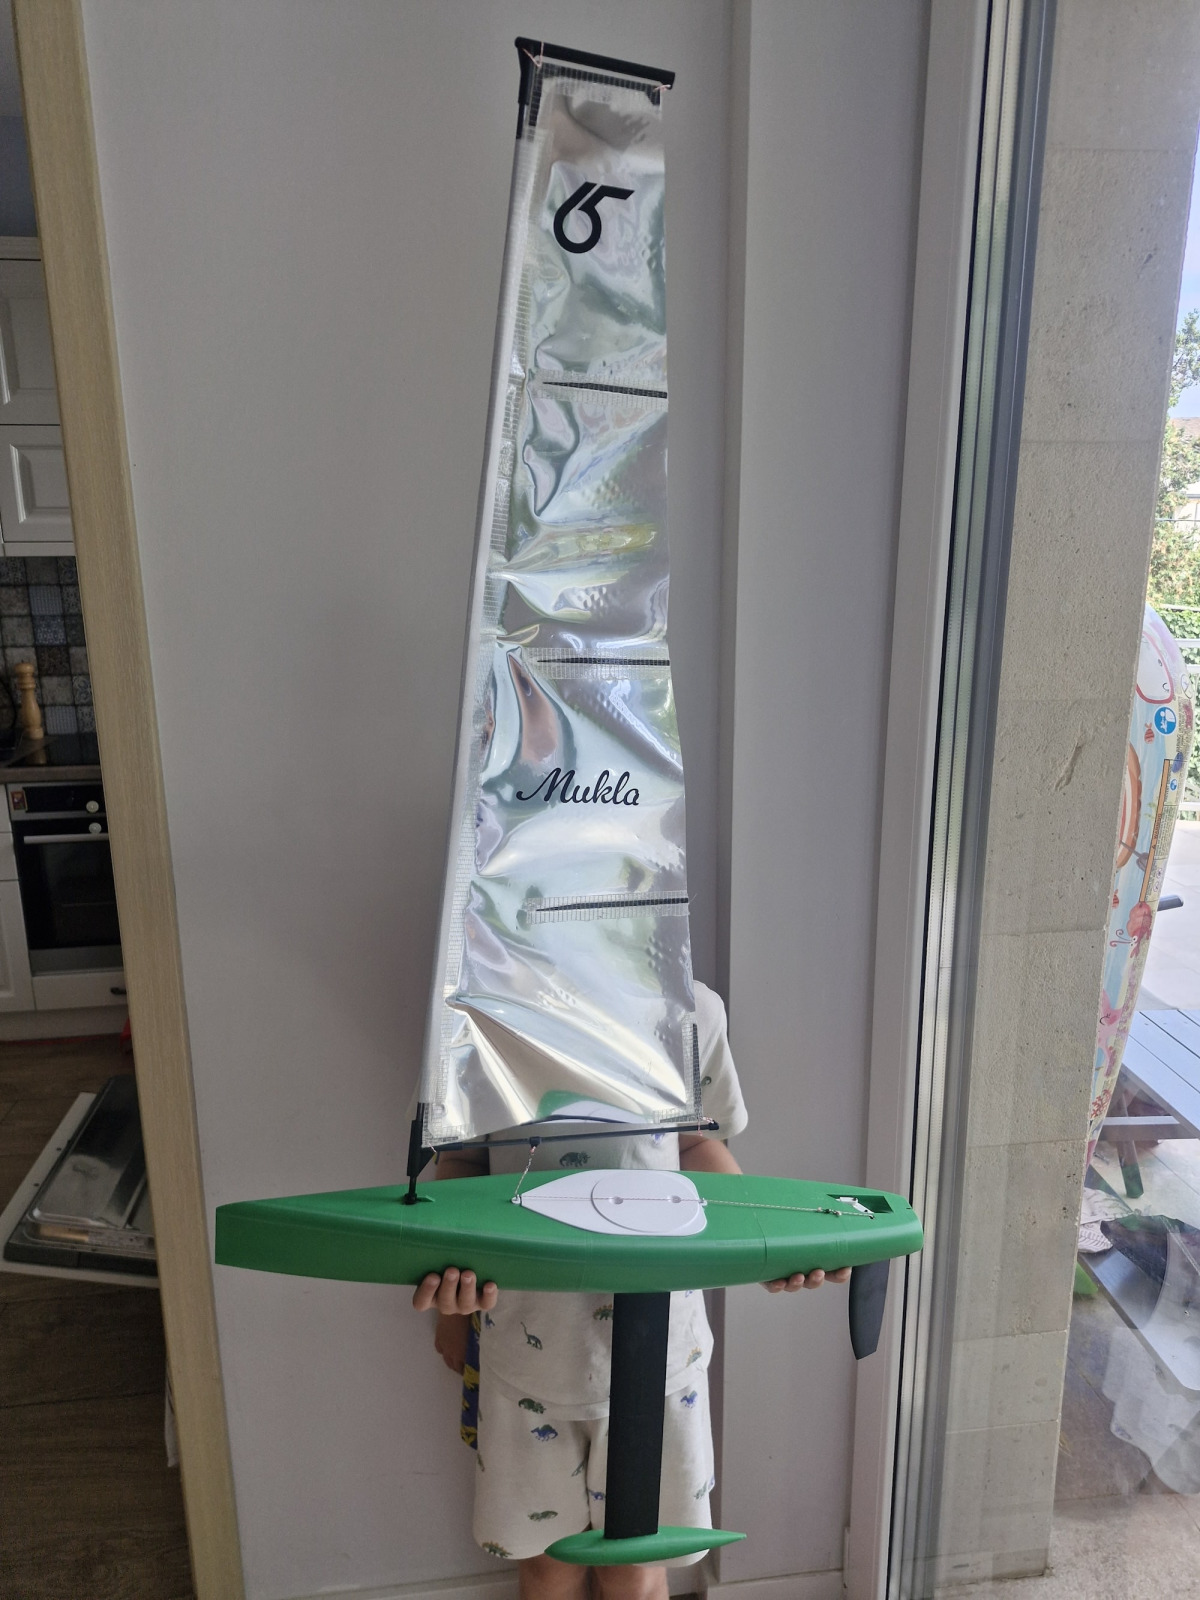

The Una rig in action!
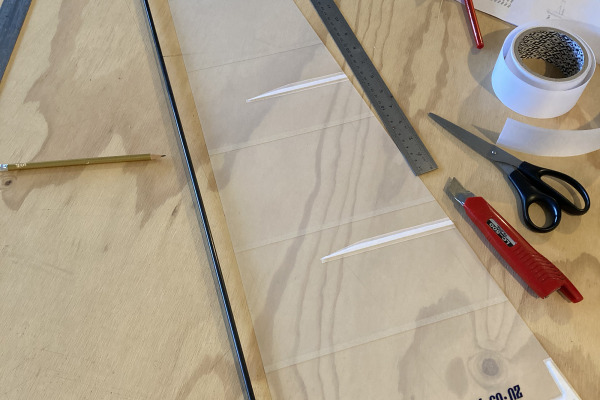
The wind in this video is 15kts, medium winds. The top end for the A rig Una. The instruction/plans that come with the STL files include schematic drawings for A&B rigs, made in the simplest way possible as one piece mylar sails and sail taped battens. Very easy to make with really good power thanks to the tension provided by the bendy carbon boom.


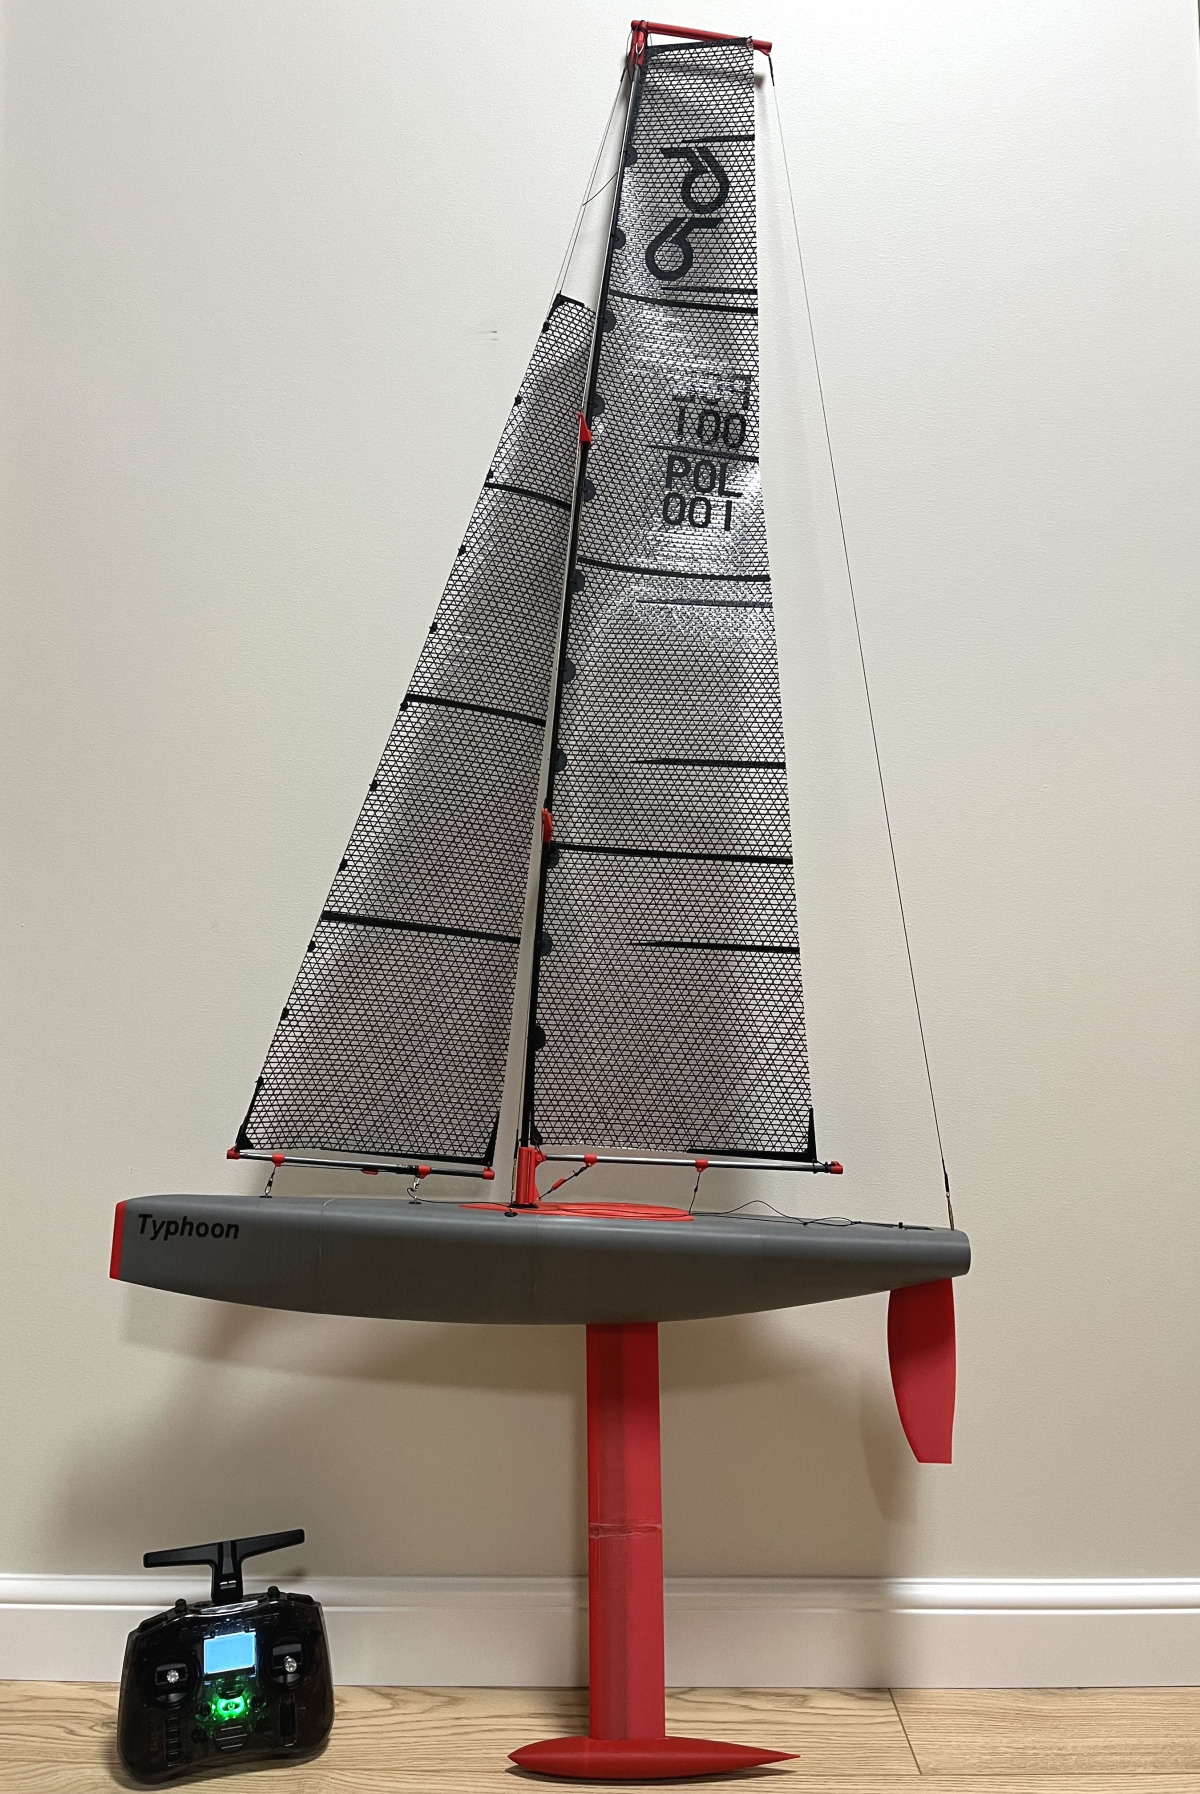
Boat Specifications
Boat weight 1.3kg total - 4AAA batteries sailing ready
Hull 371g
Electrics 135g
Keel 160g
Bulb ballast 485g - mid bulb size
Classic Rig 160g, Una is less
Una sail area = 1,670 cm²
Classic A+ rig = 2,472 cm² - not class legal *
Classic B rig = 2,250 cm² - class legal & recommended
* RG65 maximum permitted sail area is 2,250 cm² (main + jib combined).
Customer Feedback
Ian Owens, United Kingdom
I'm busy at the moment printing the files - all going well, great quality. The first Sparrow we did is a great success. My friend Peter, who sails the yacht, is very impressed - it sails better than any of the bought yachts.
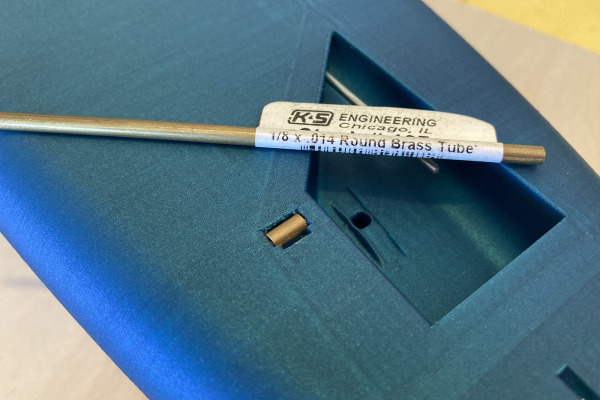
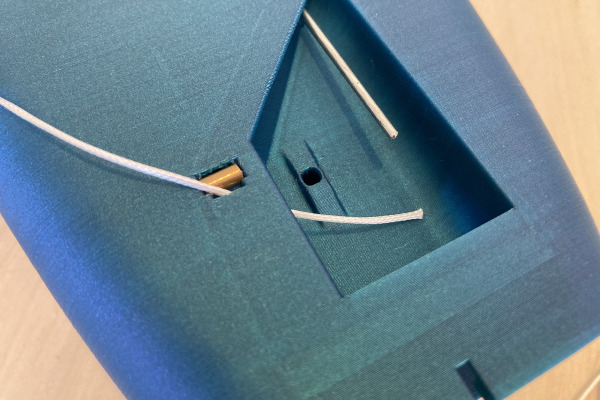
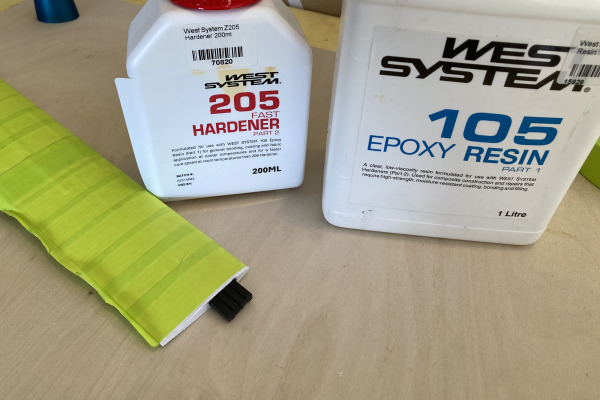
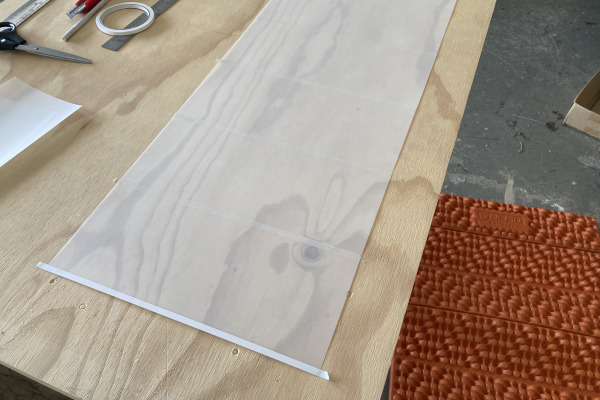
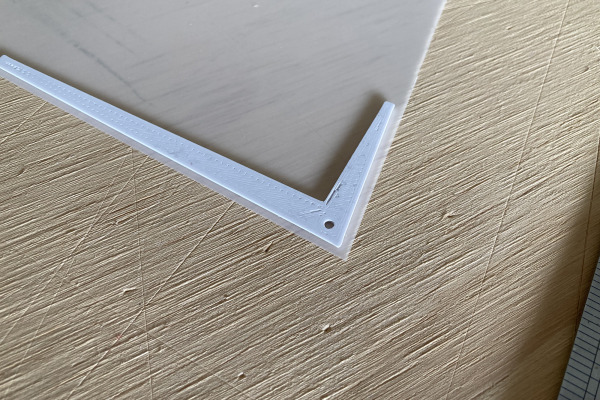
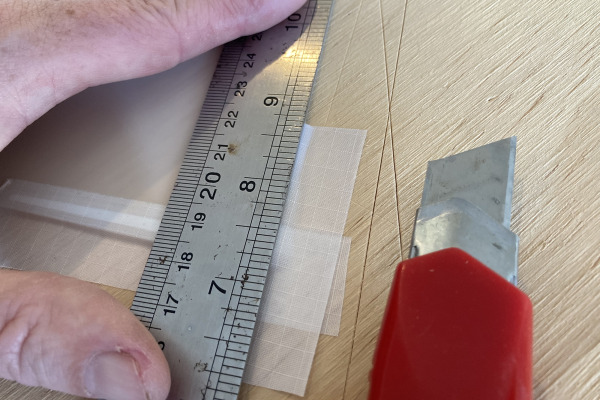
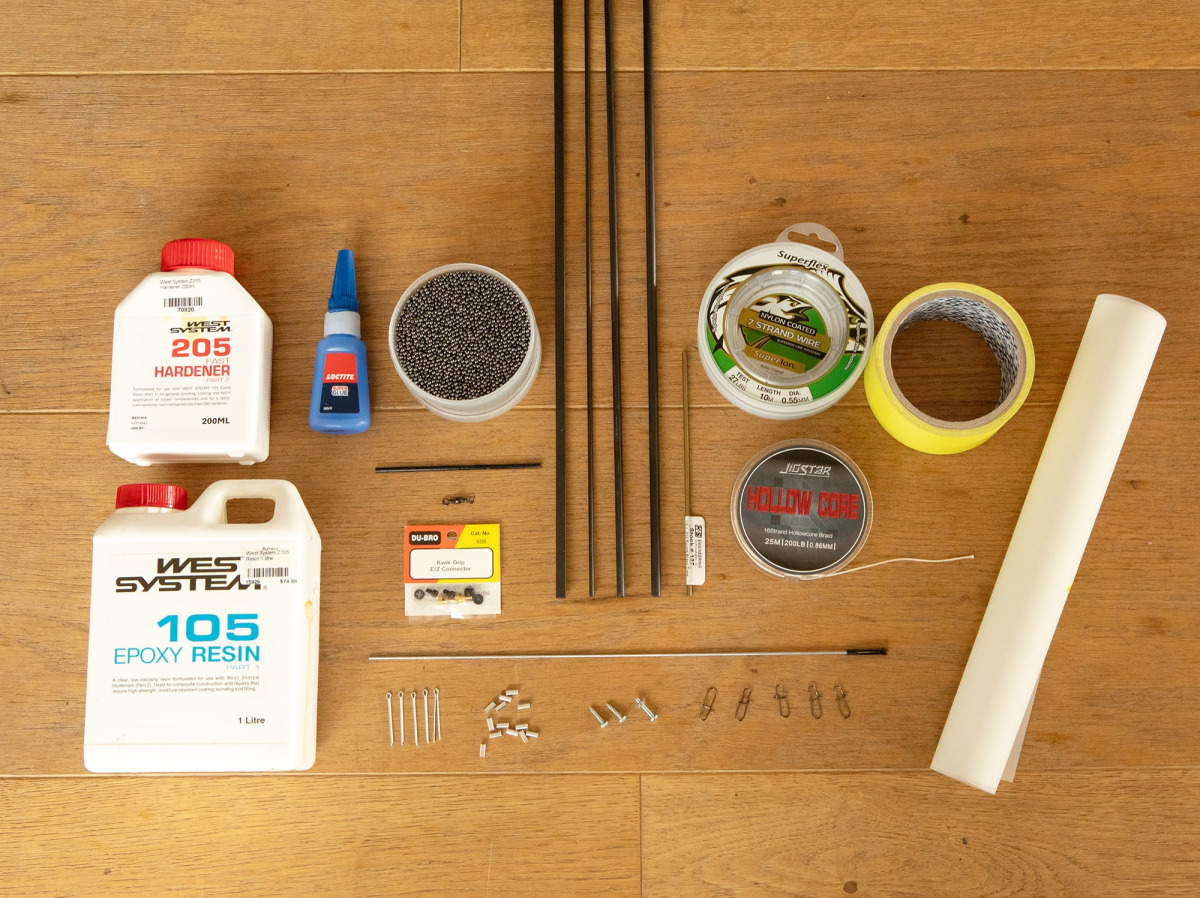
Materials Required
As you can see the materials needed to complete the build are very minimal.
Some glues, some carbon lengths, some smaller metal fishing components and some sail materials.
A full list of exactly what you need with links to suppliers is on the materials page.
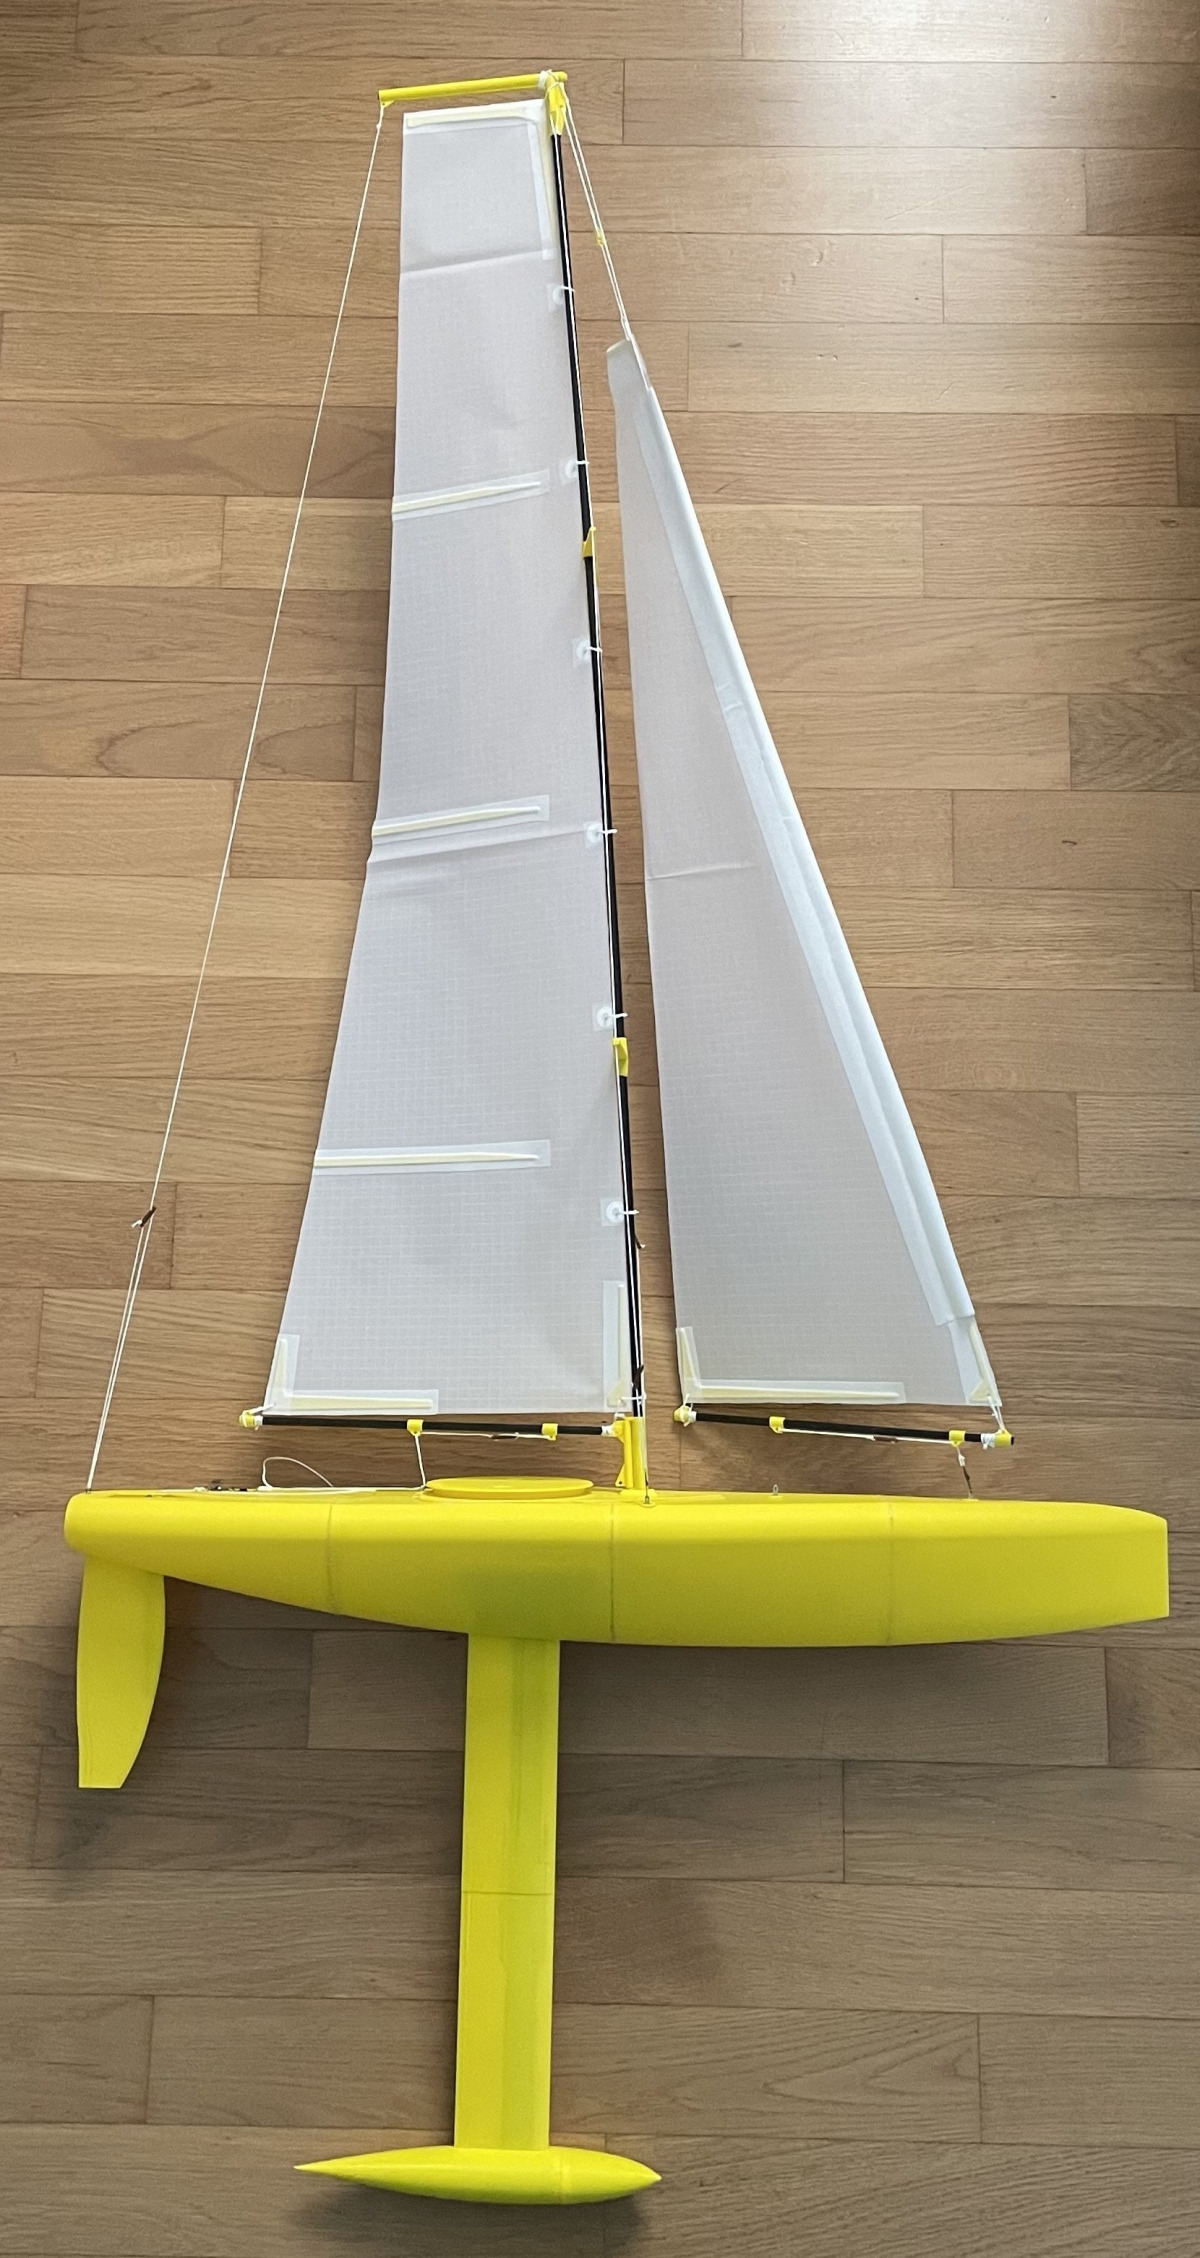
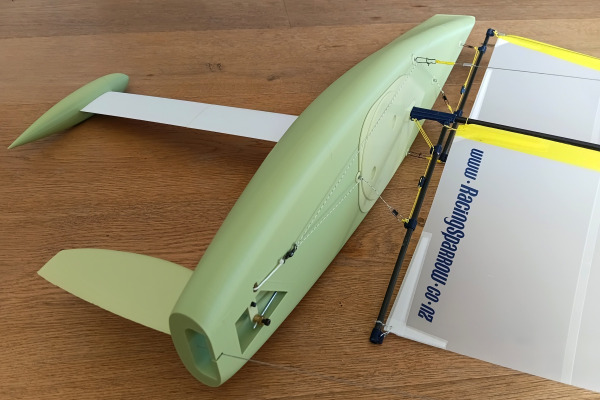
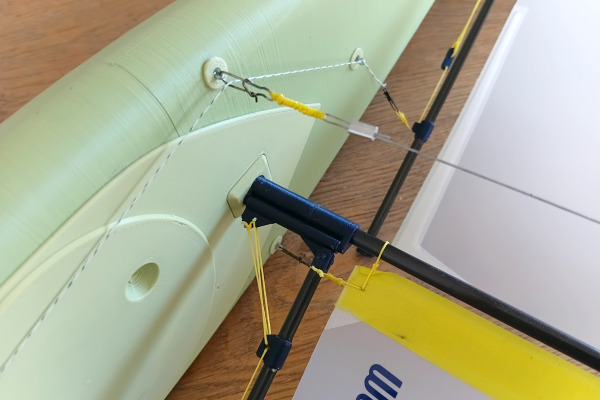
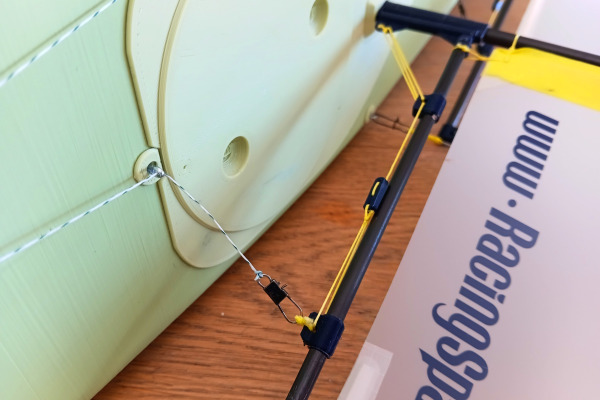
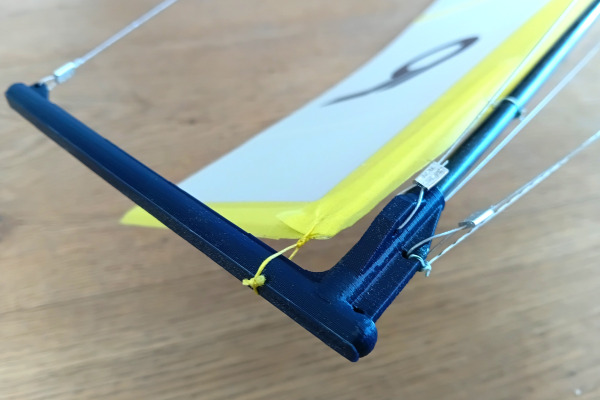
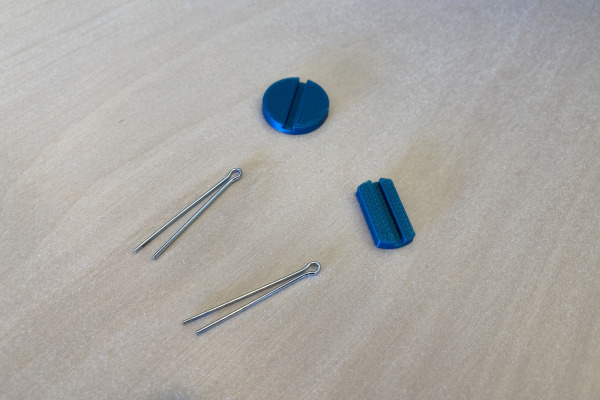
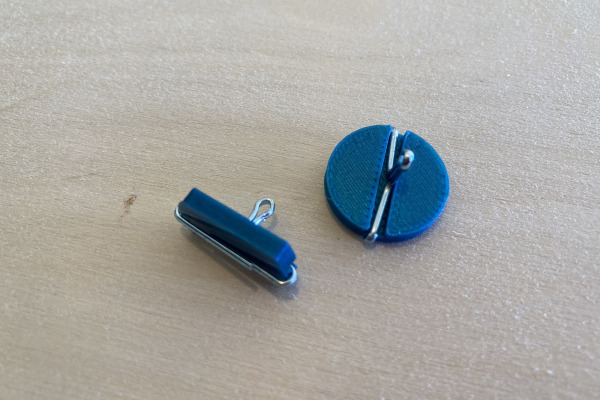
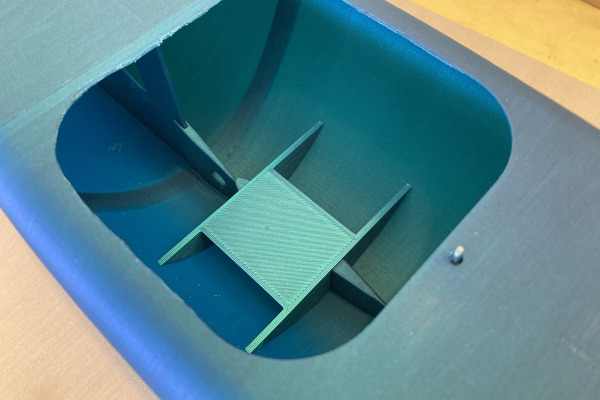
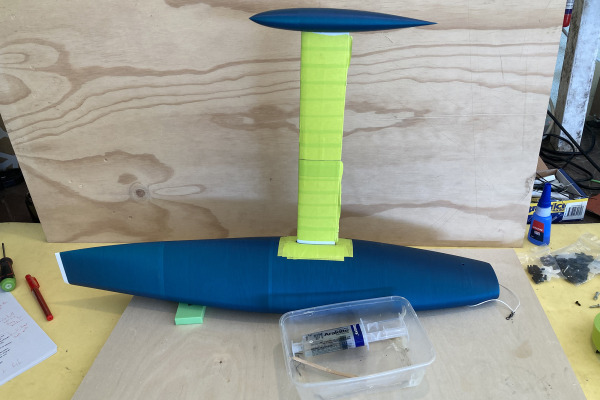
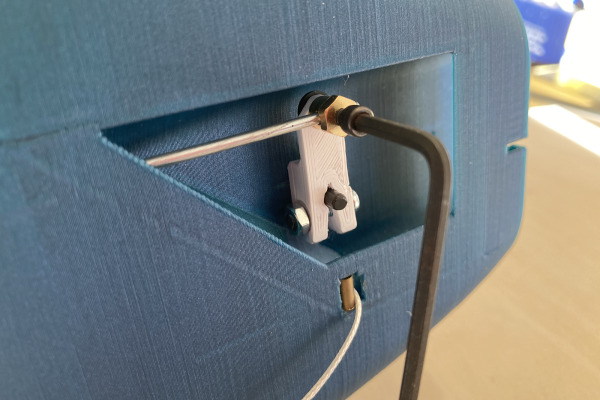
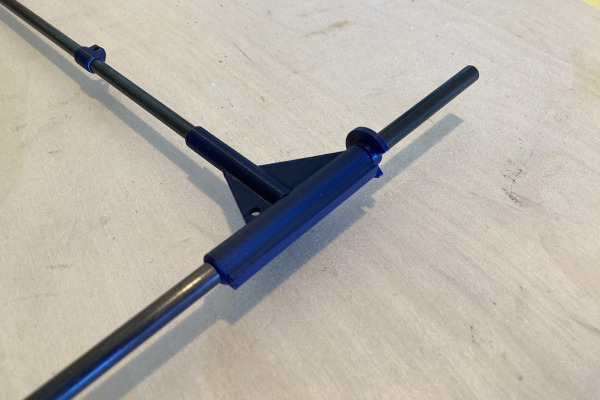
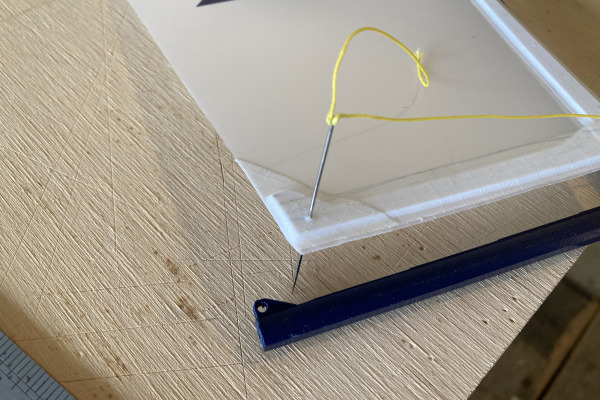
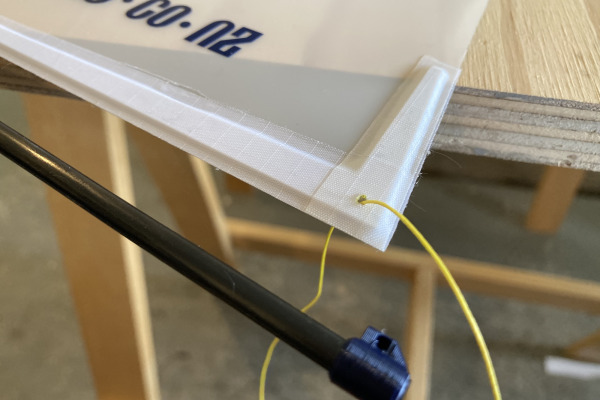
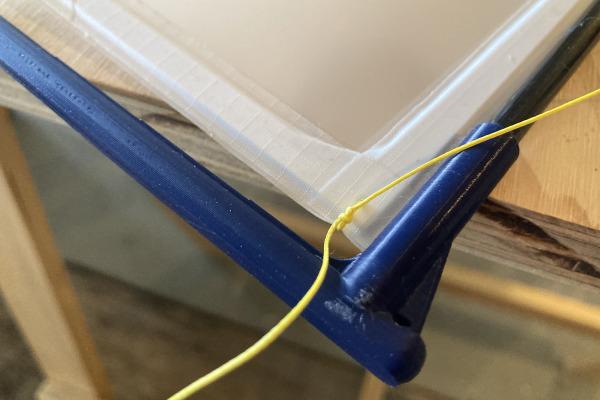
Una Printed Parts
The Una rig is possibly the simplest rc yacht to build on the market.
The rig slides in facing backwards then rotate and locks in place with a notched disk at the mast base. Then just clip the main sheet to the boom attachment and start sailing. Really easy to transport and minimal setup time.
This setup would suit a beginner who wants to get on the water asap! This would also be an excellent school project for a group as there a very little materials and parts required to complete the build.
Our prefered configuration for the Una setup is a -7mm keel position, a 508g bulb and a large rudder. With the weight of the rig further forward the keel position being further back offsets this nicely. The larger rudder helps keep that big sail under control downwind.
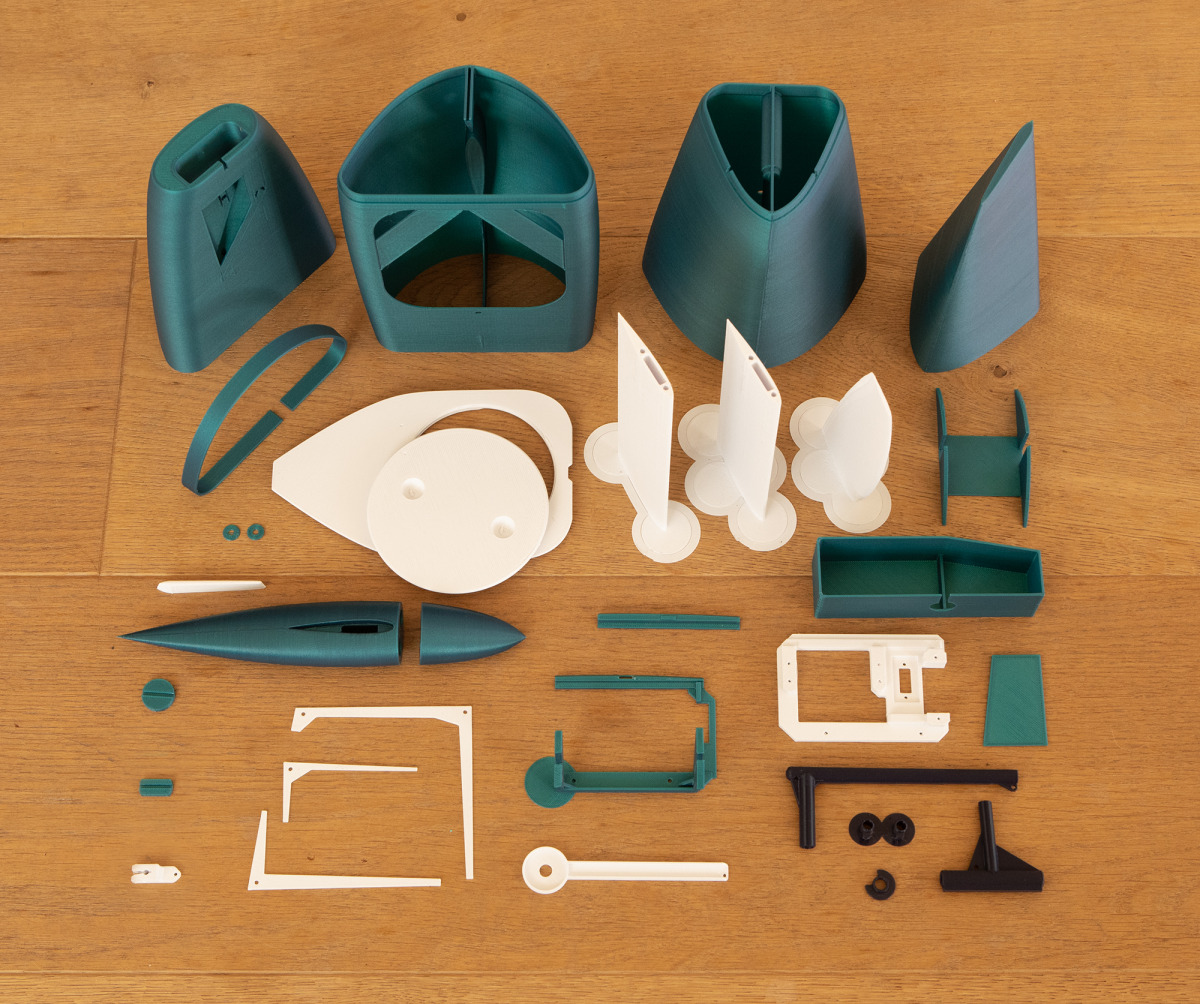
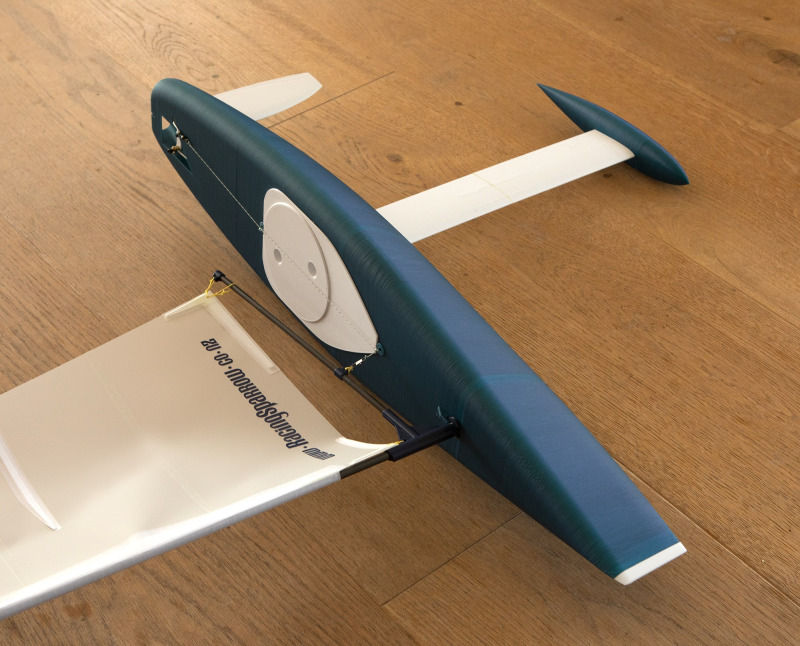
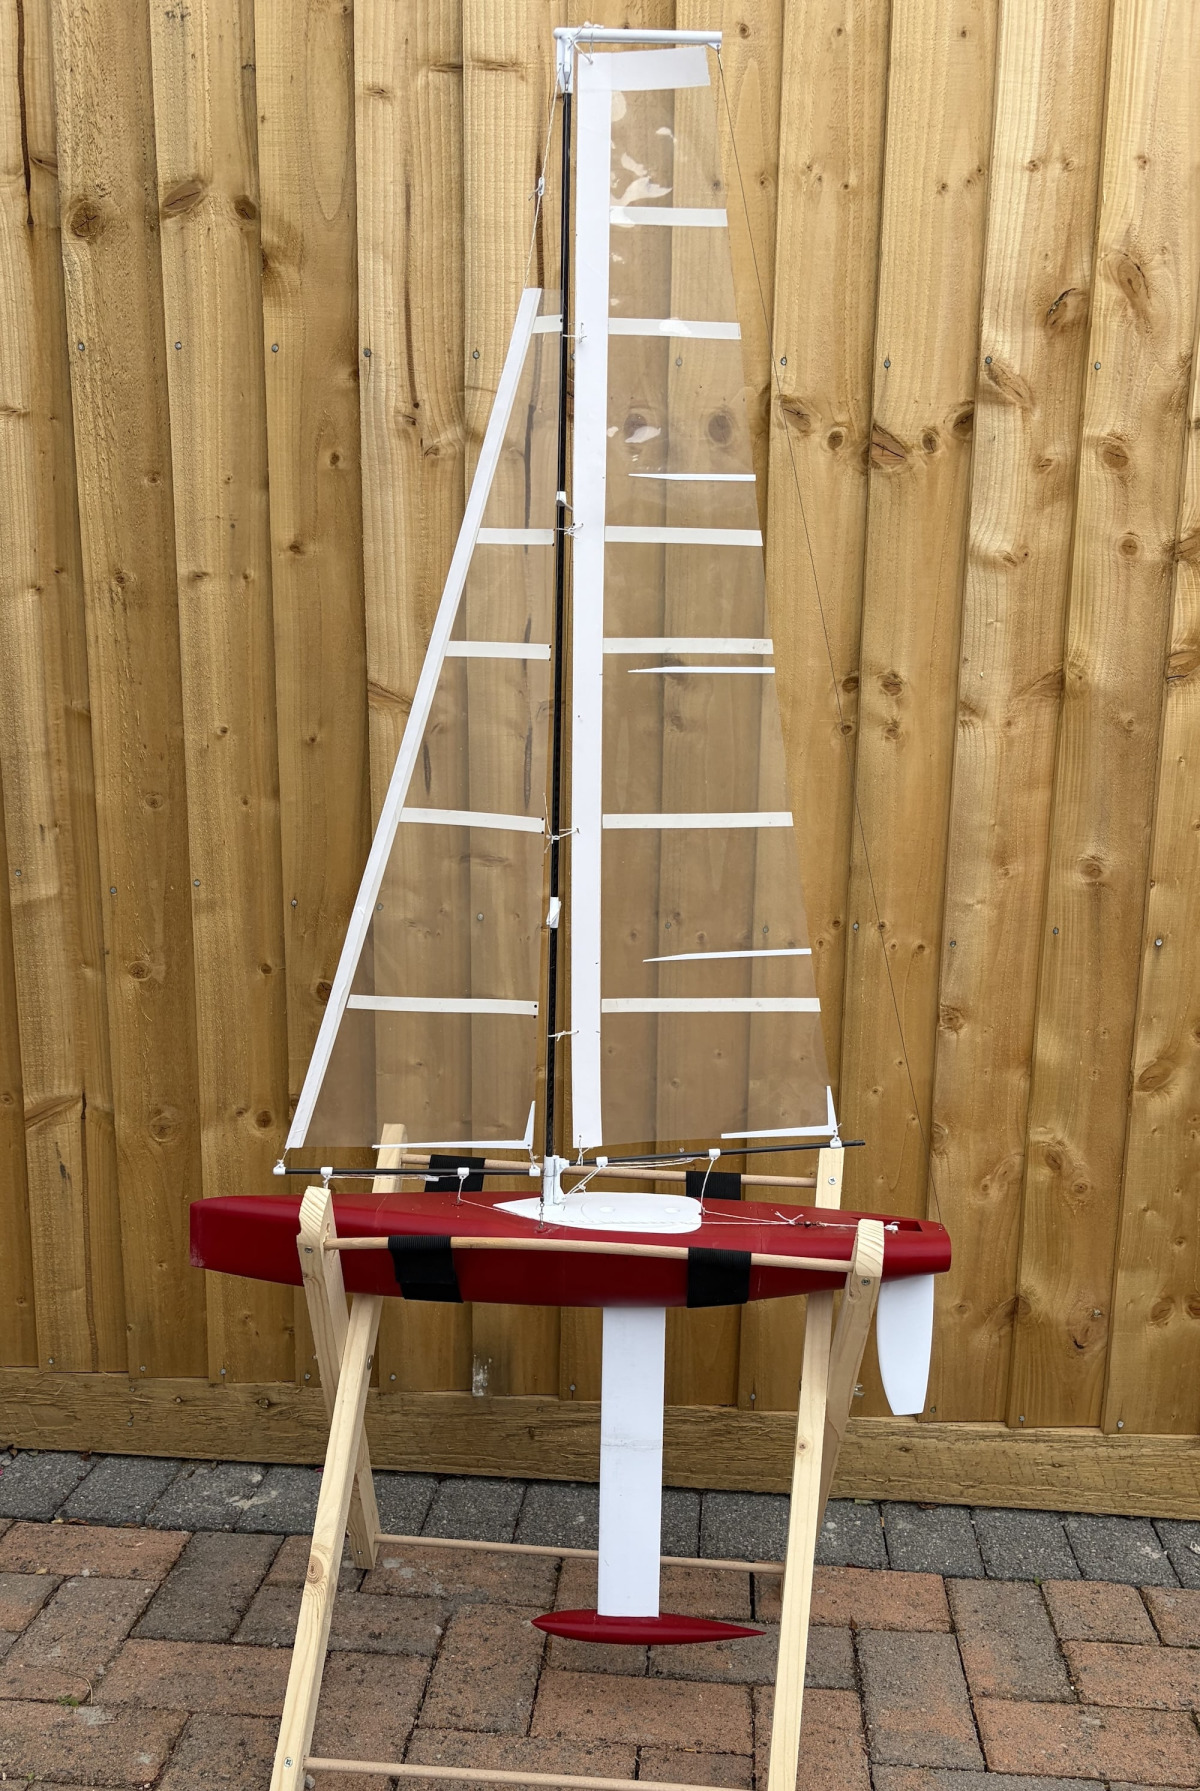
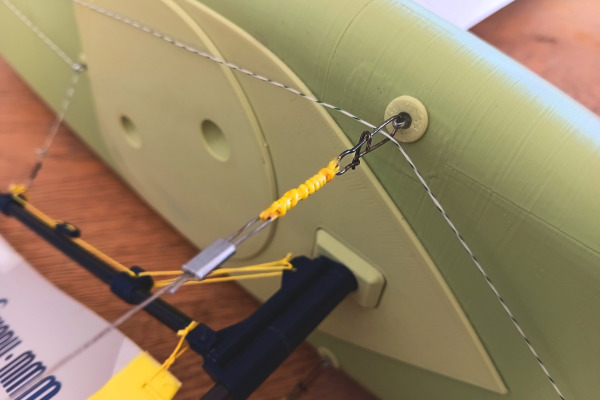
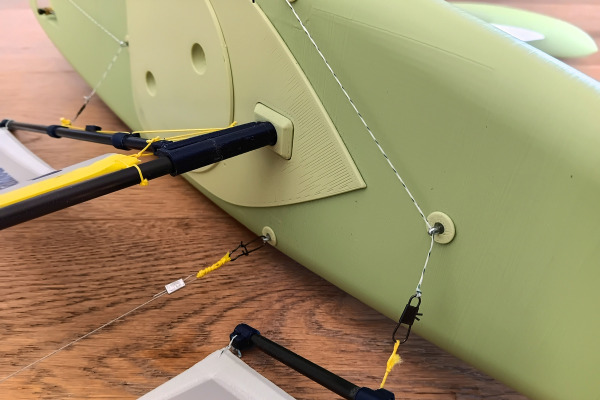
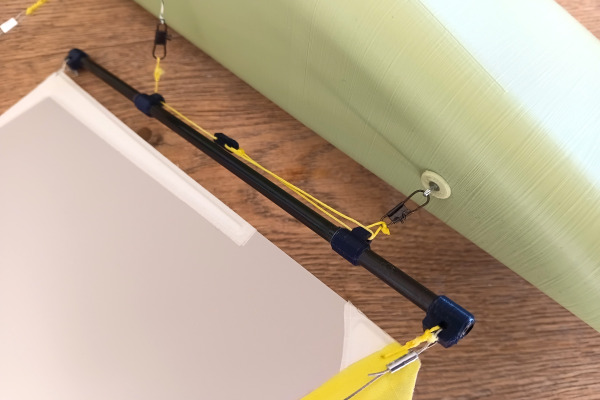
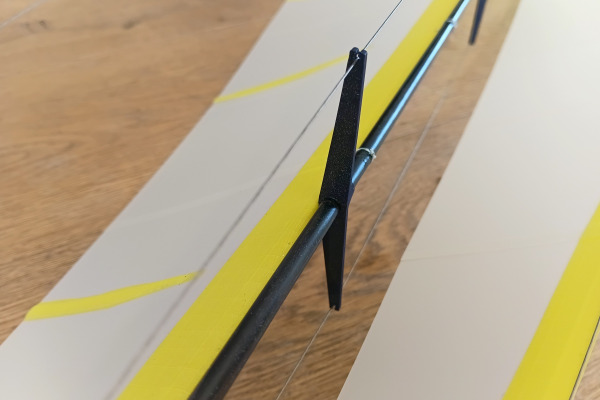
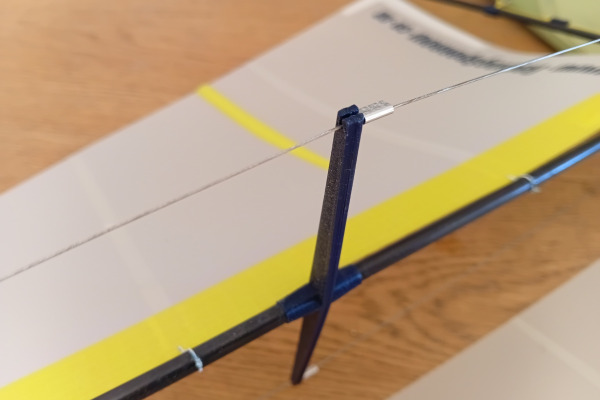
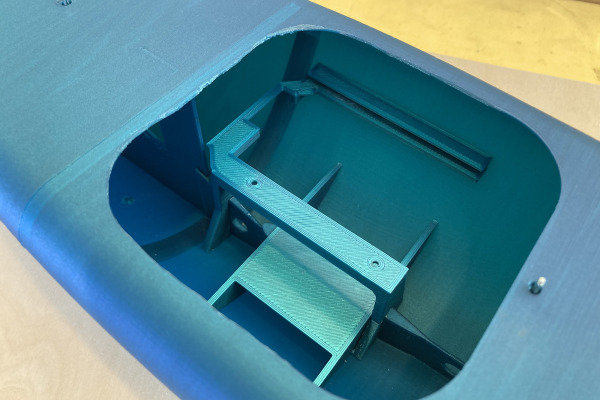
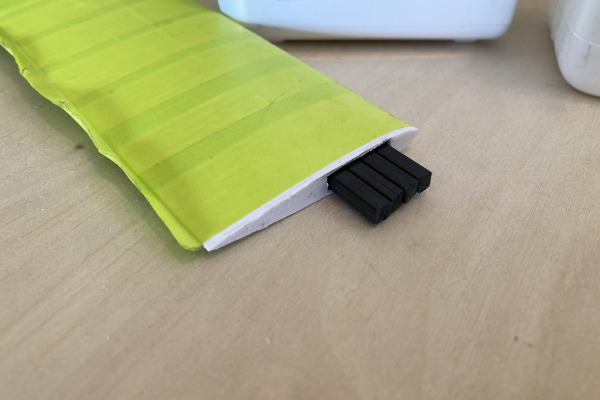
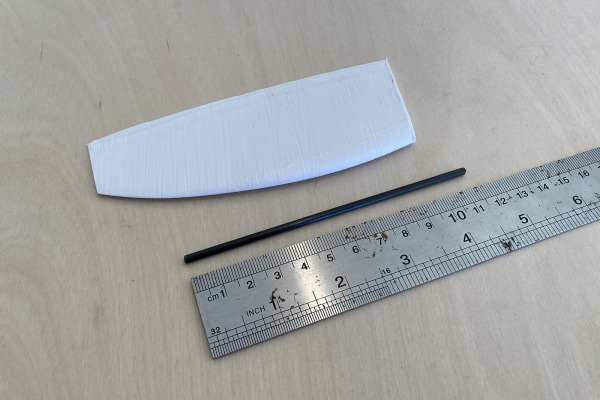
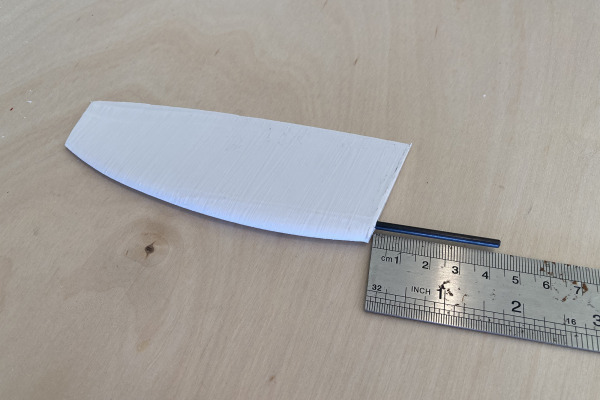
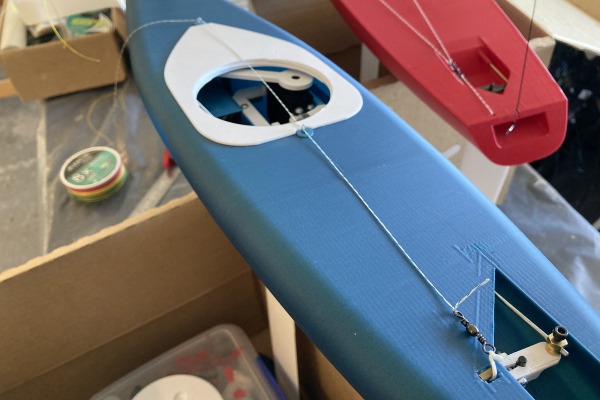
Standard Printed Parts
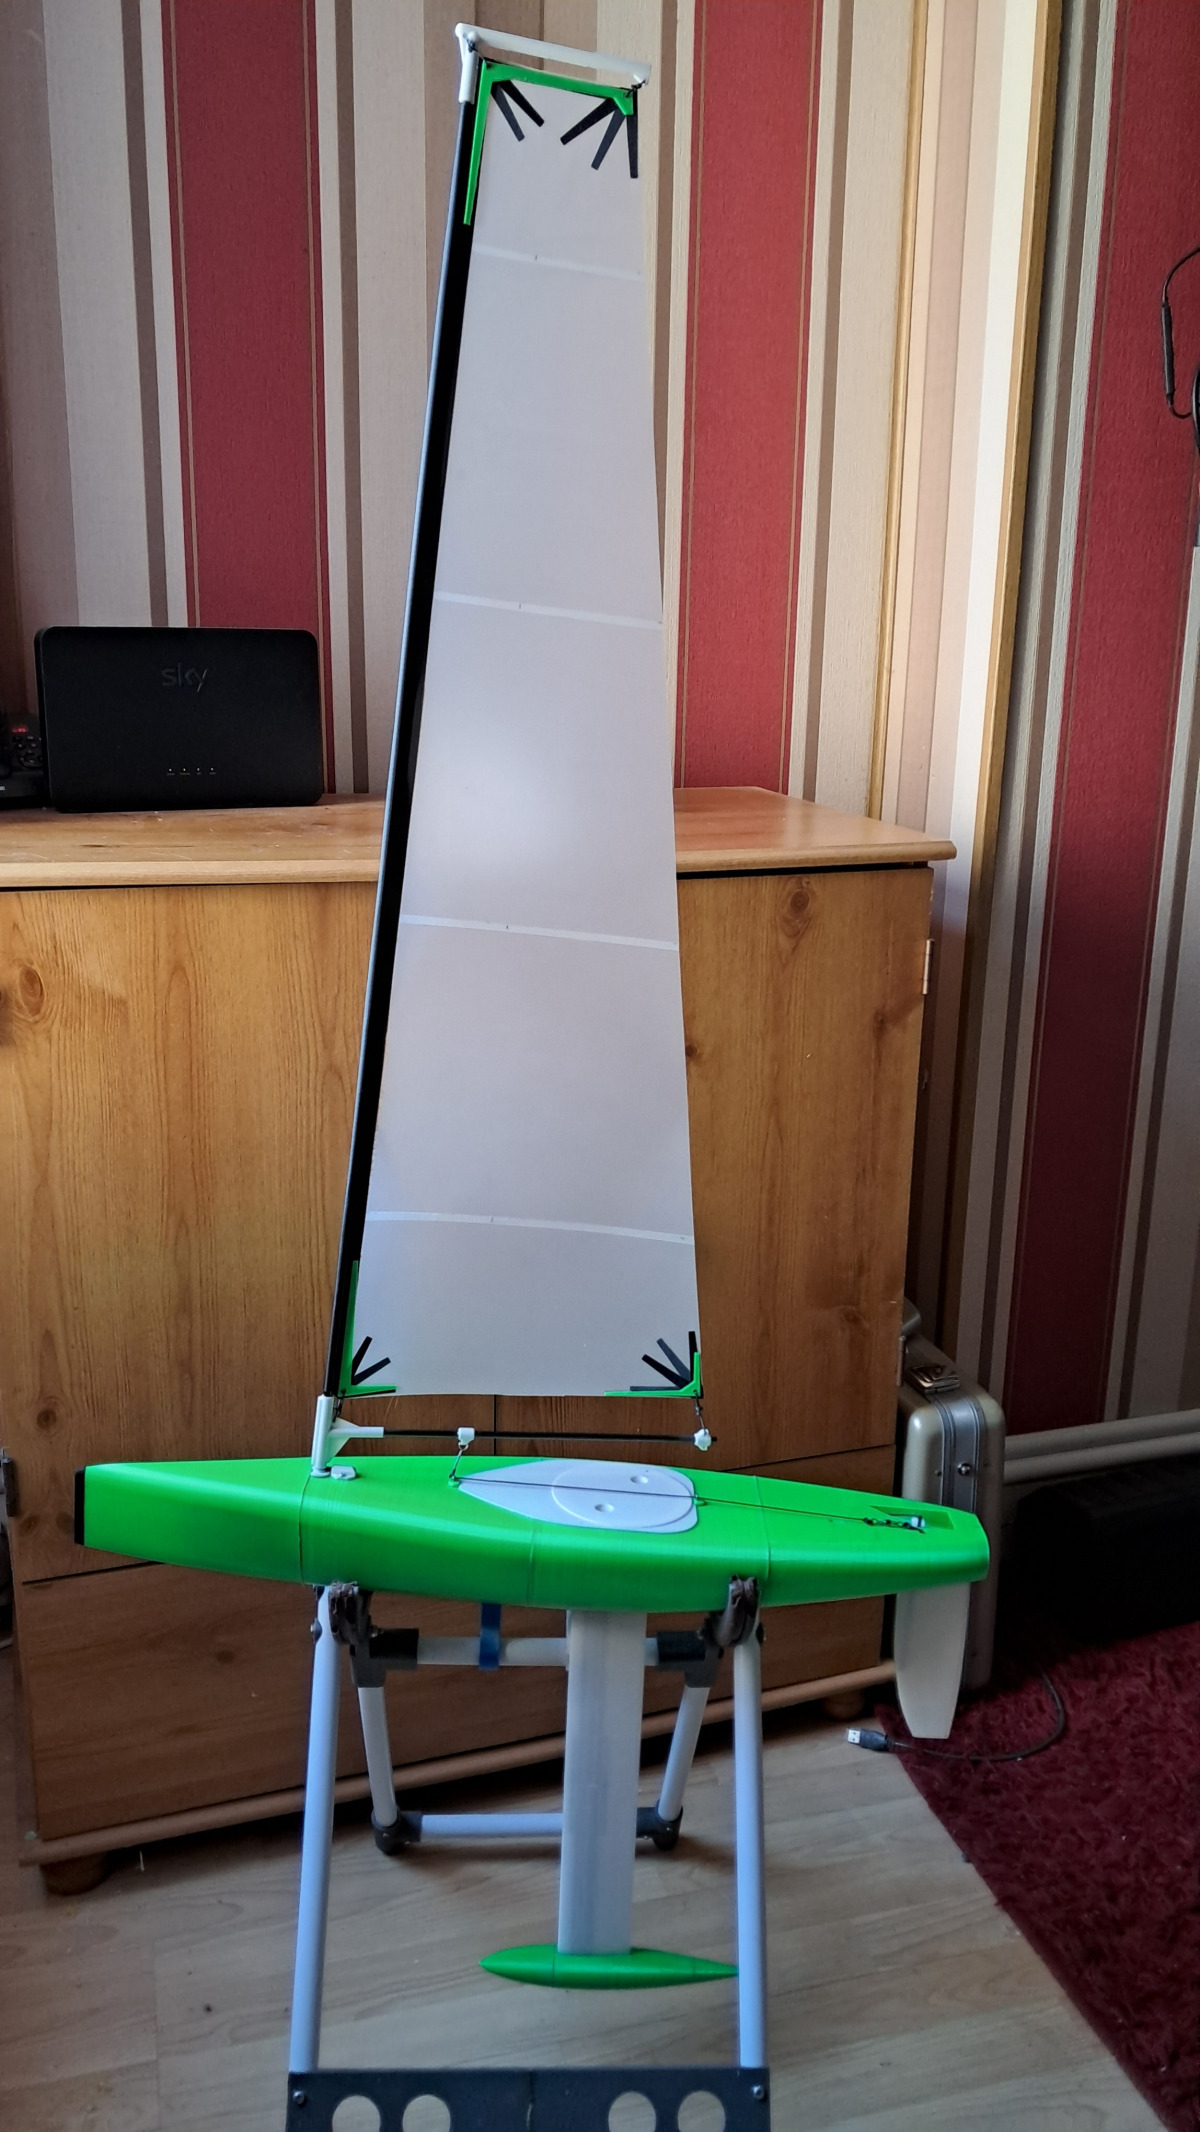
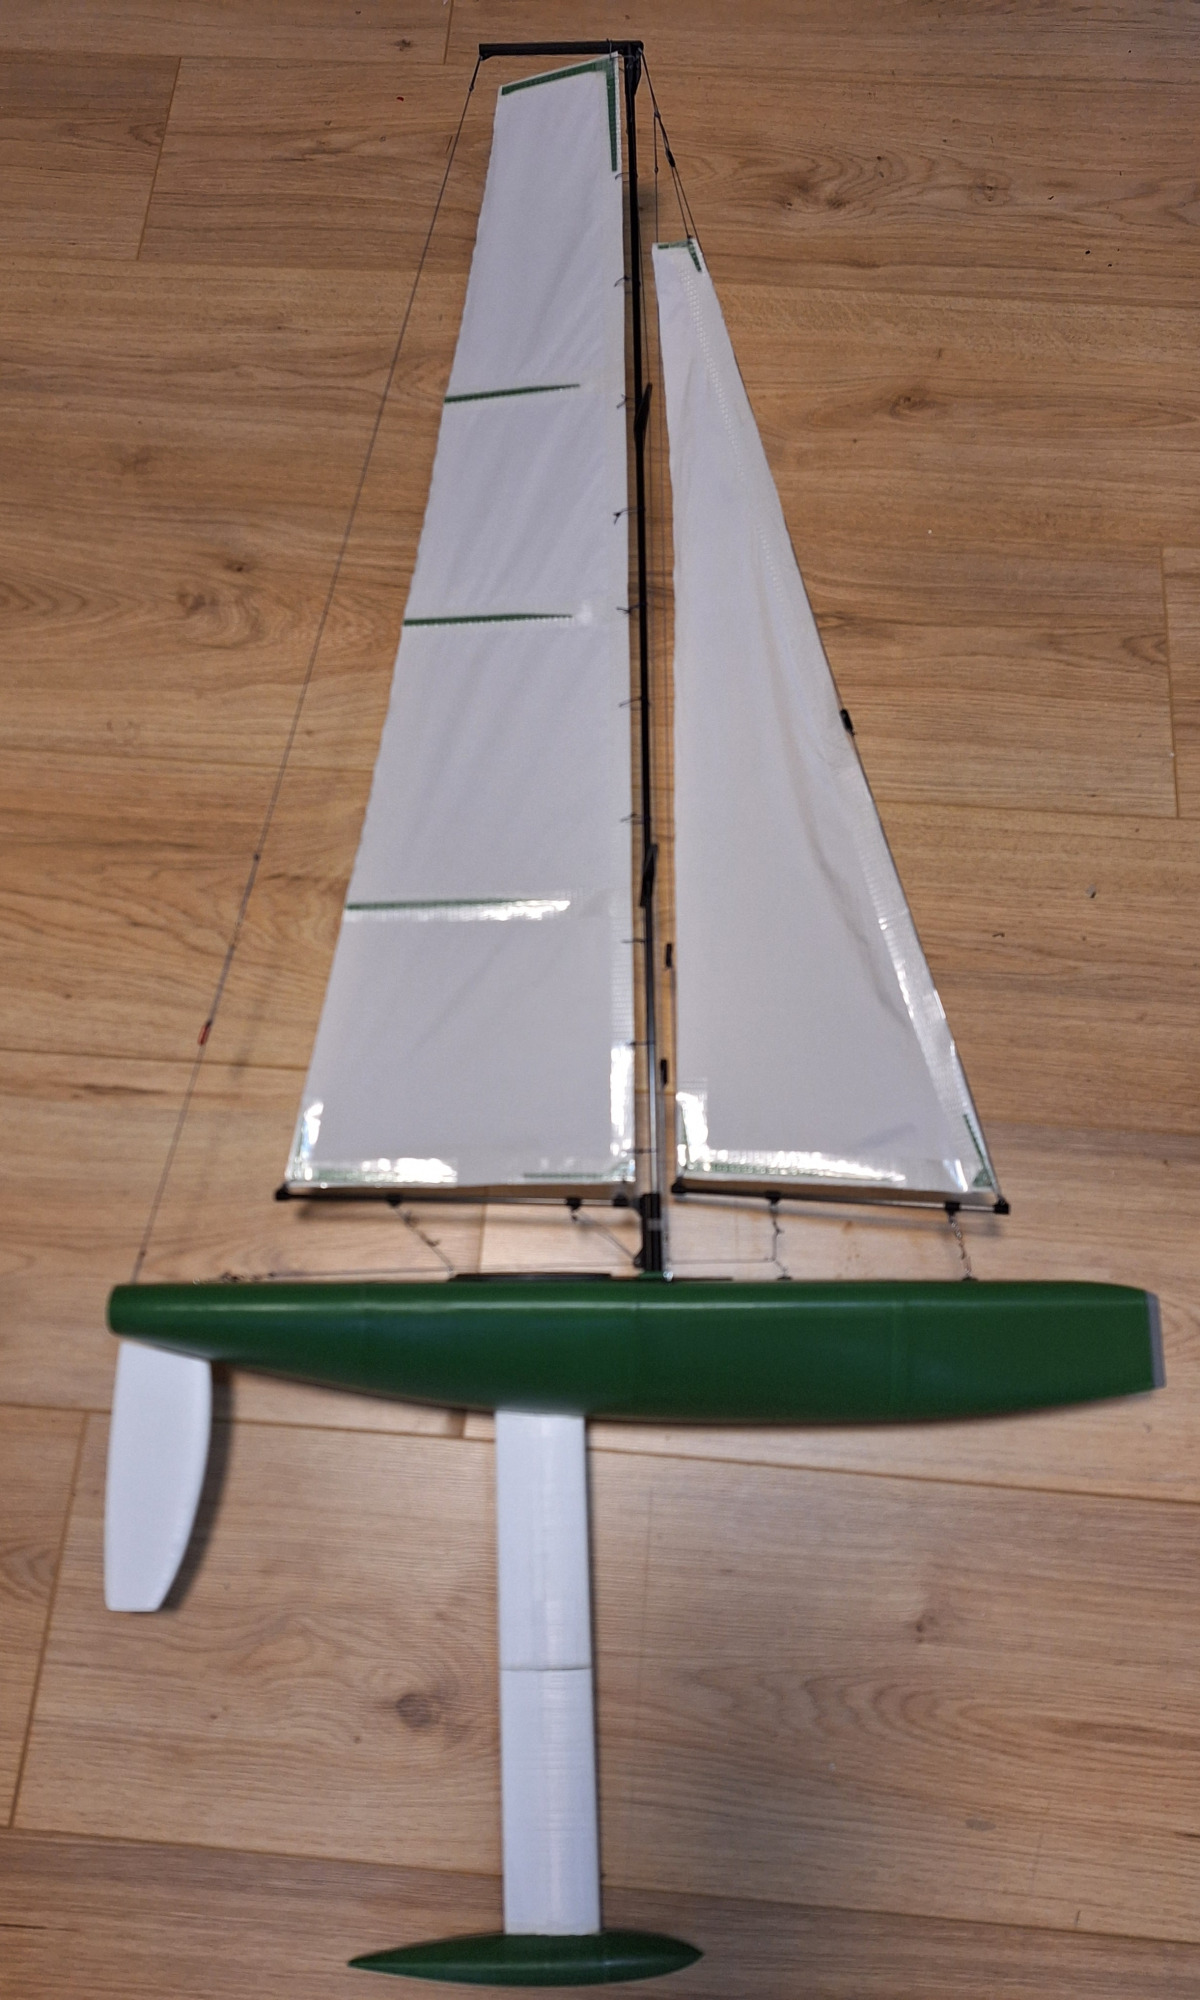
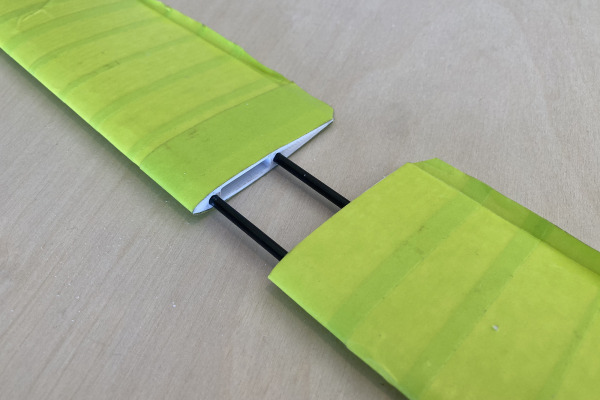
These are the printed parts for the standard two-sail RG65 Racing Sparrow.
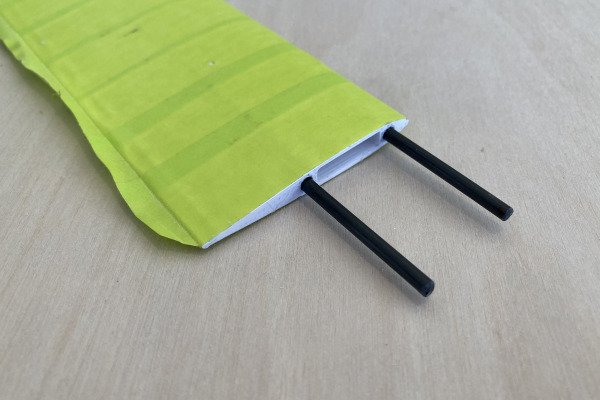
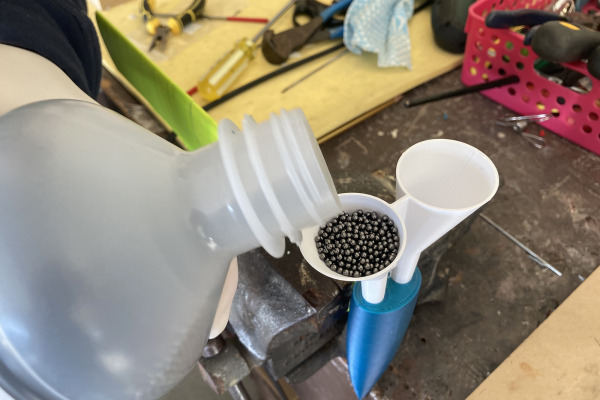
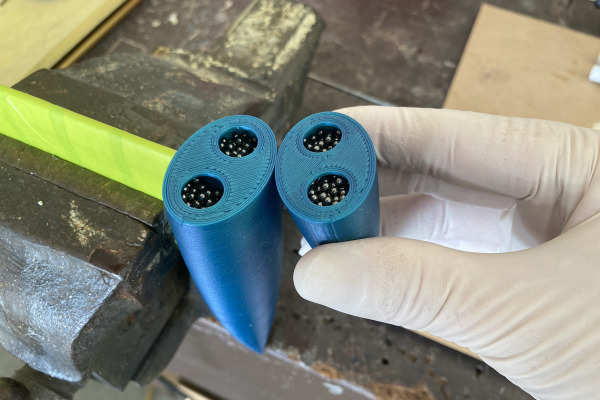
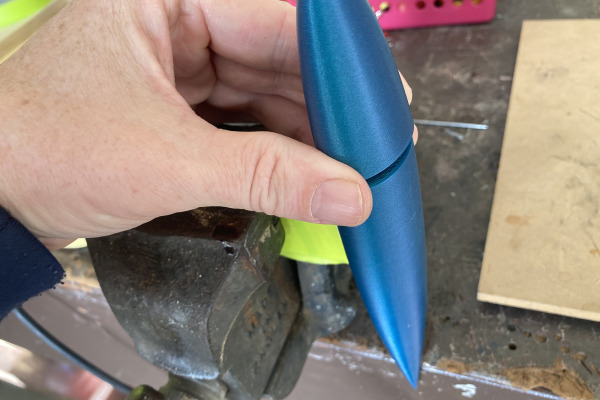
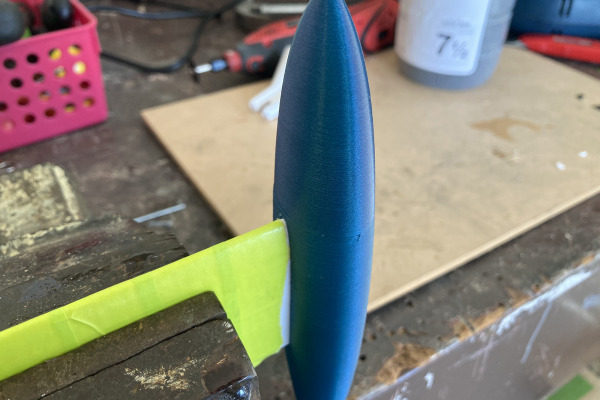
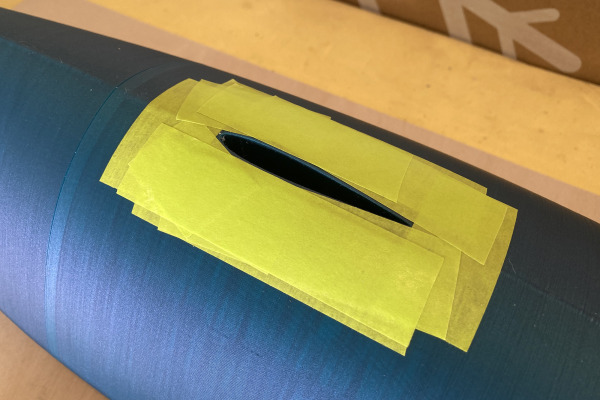
All rigging parts superglue to 1m carbon spars (readily available online). The keel is a two-piece NACA012 profile with carbon support, and the bulb is a two-piece torpedo filled with lead shot.
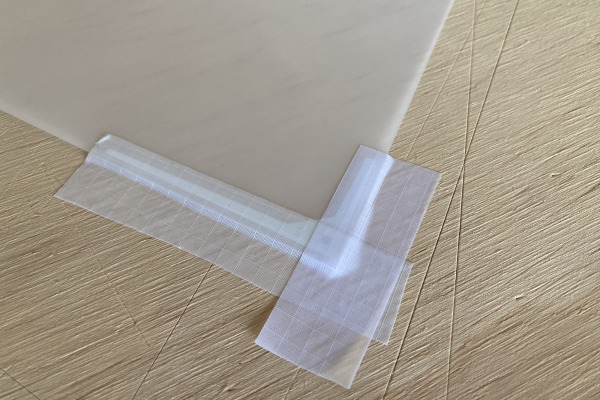
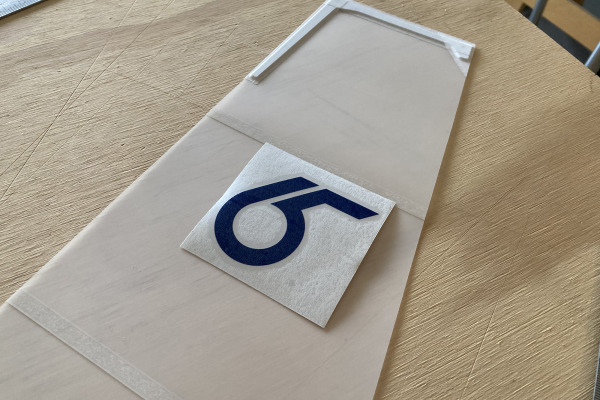
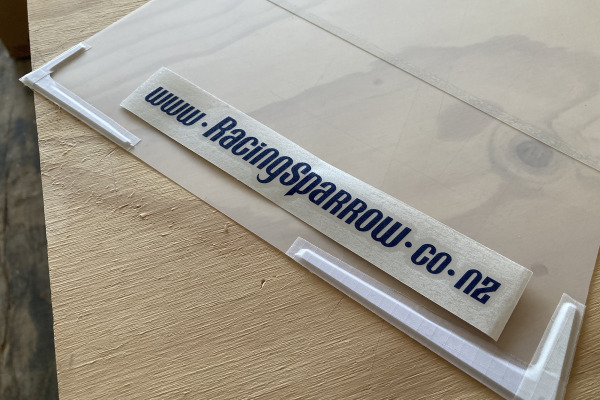
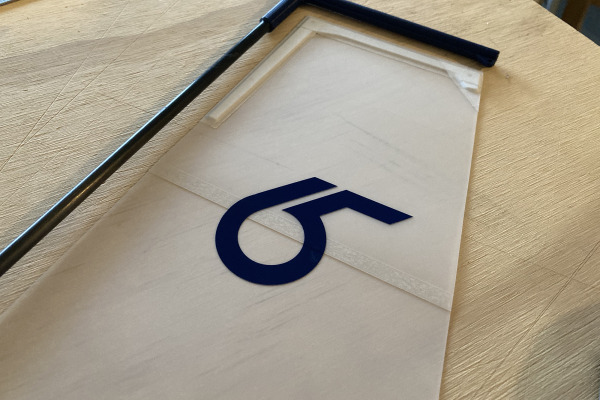
The STL files include diagrams for A & B rigs. Sails use 3D printed battens, with holes in the corner battens for instant eyelets.
This setup suits club racers or anyone after a compact, powerful DIY RC sailboat.
Preferred combo: B rig sails, 508g bulb, original keel position, and medium rudder—balanced and easy to sail in a wide wind range. For a faster but trickier option, choose the 470g bulb.

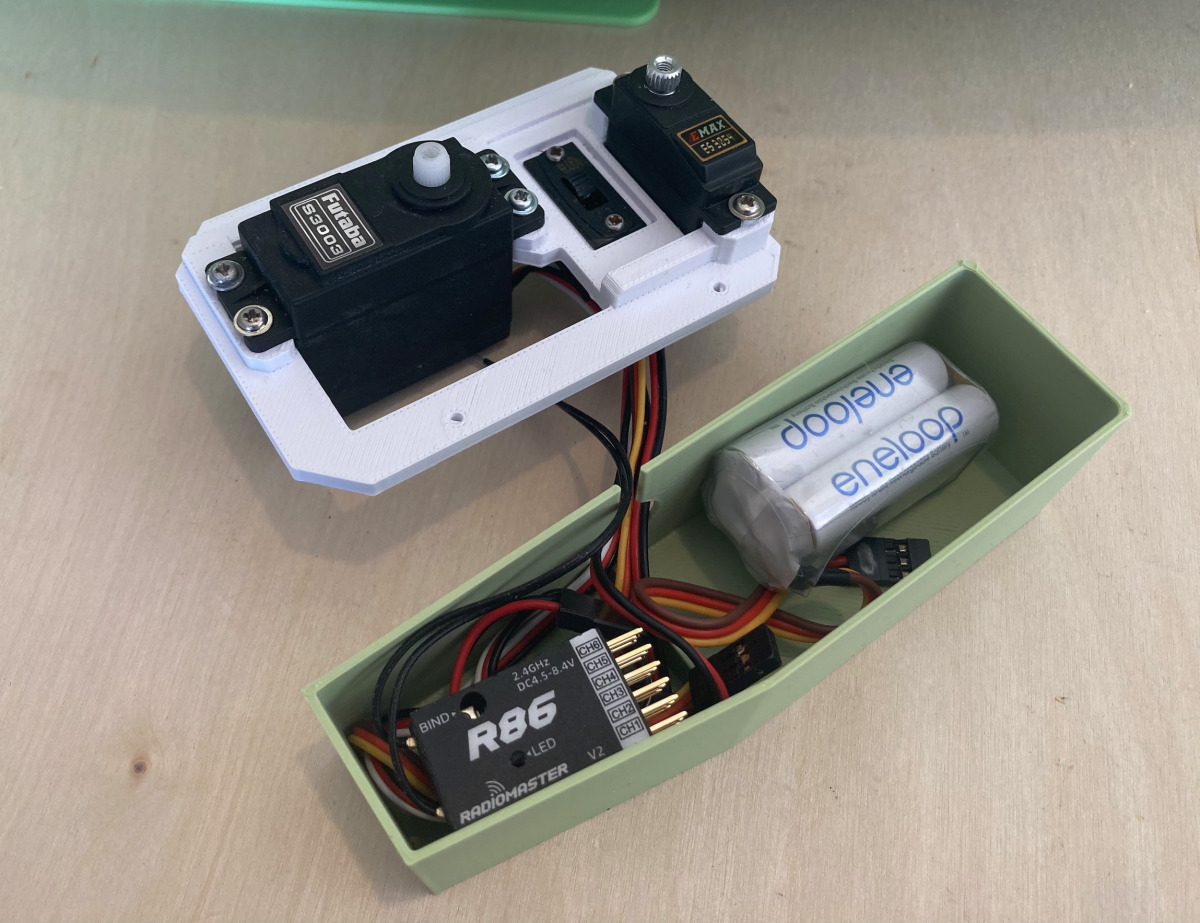
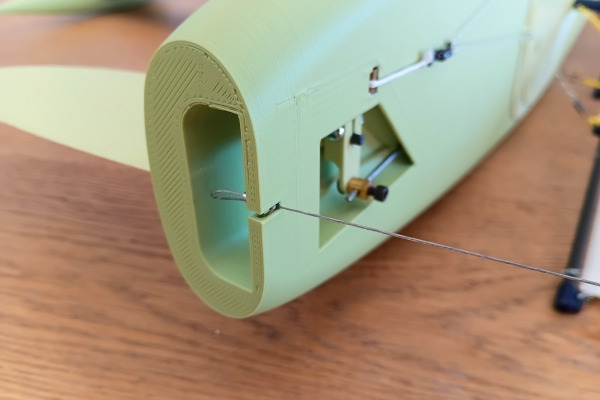
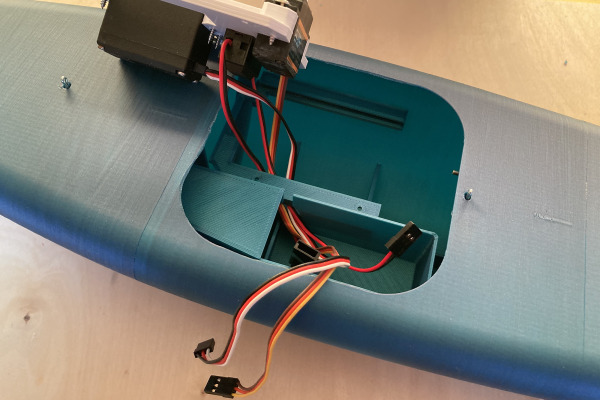
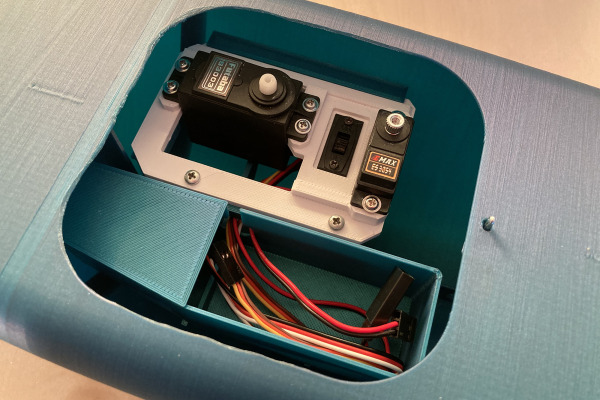
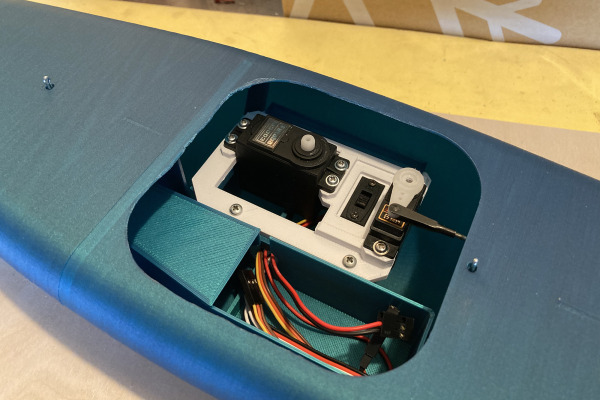
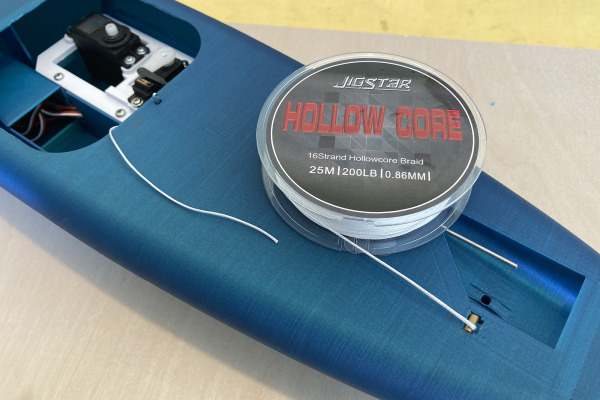
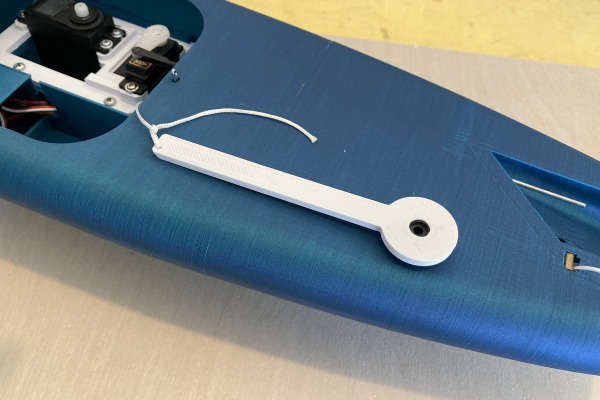
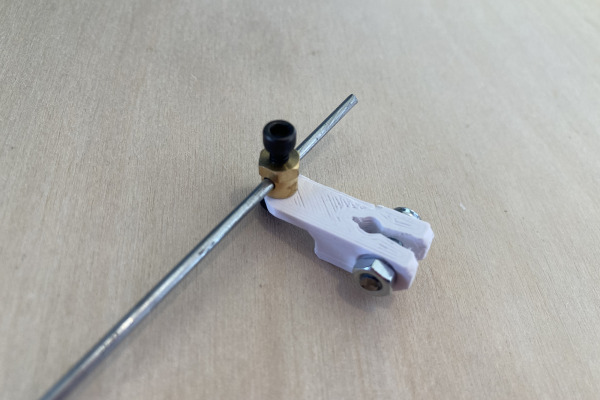
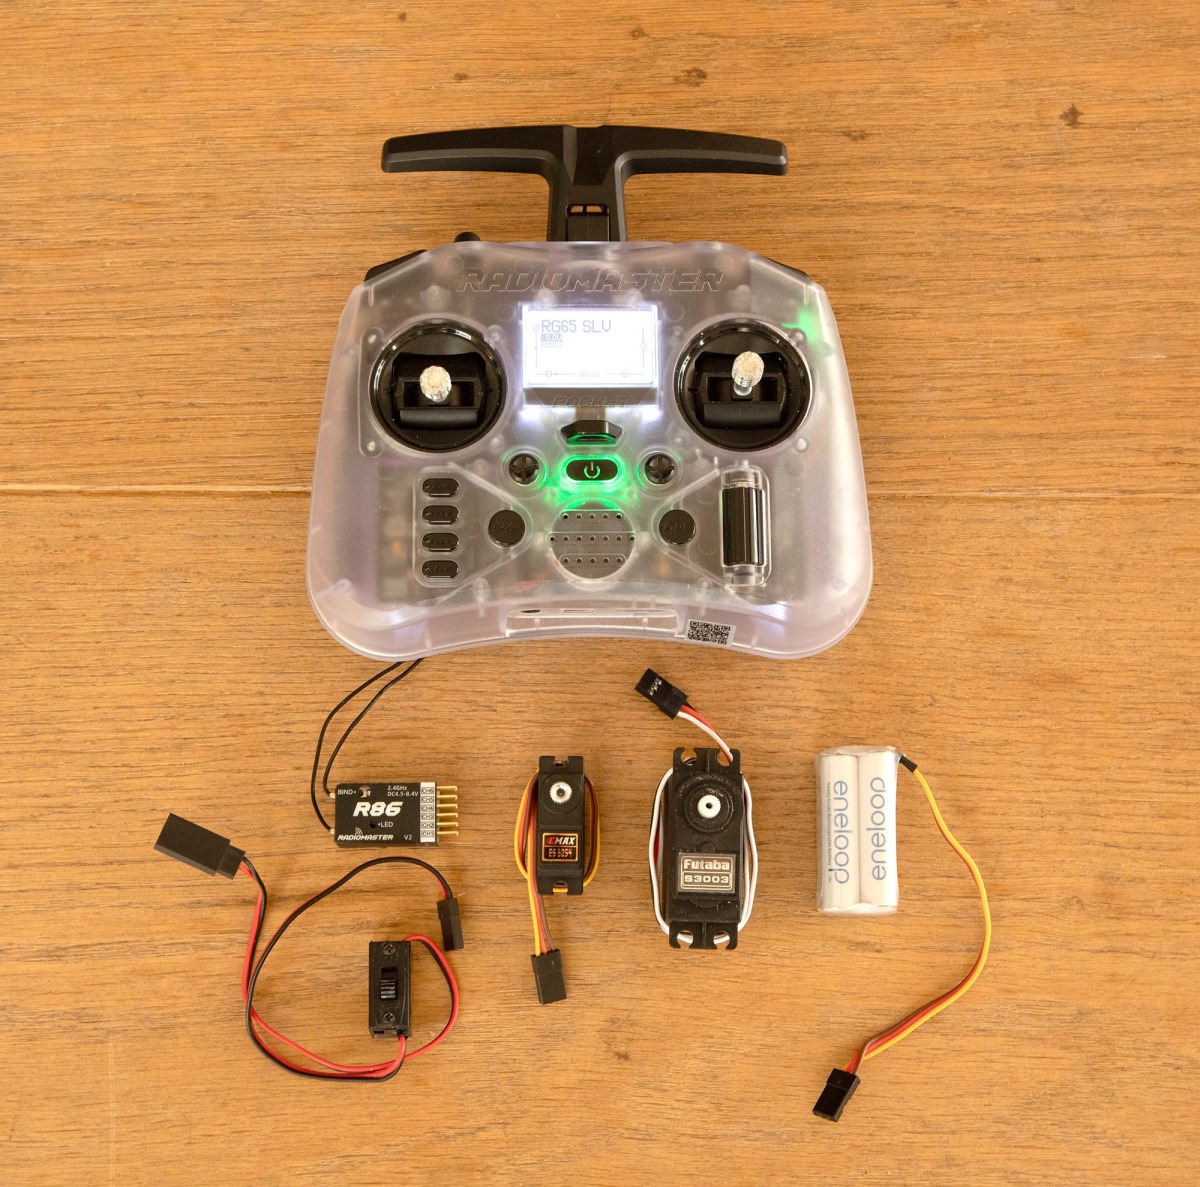
Electrics components
The electrics for this boat are inexpensive and easy to source worldwide. Instead of costly drum winch servos, we use standard servos with long arms—keeping builds simple and affordable, a core Racing Sparrow principle.
In the image you will notice we use RadioMaster transmitters and receivers. They are great value. Fully featured, good quality and reasonably priced.
We use the RadioMaster Pocket Transmitter—a compact, affordable, and fully featured controller. It stores multiple model setups, switches easily between them, and works for boats, planes, or helis. Long battery life and built to last for years.
A full list of components including the electrics is on the materials page.
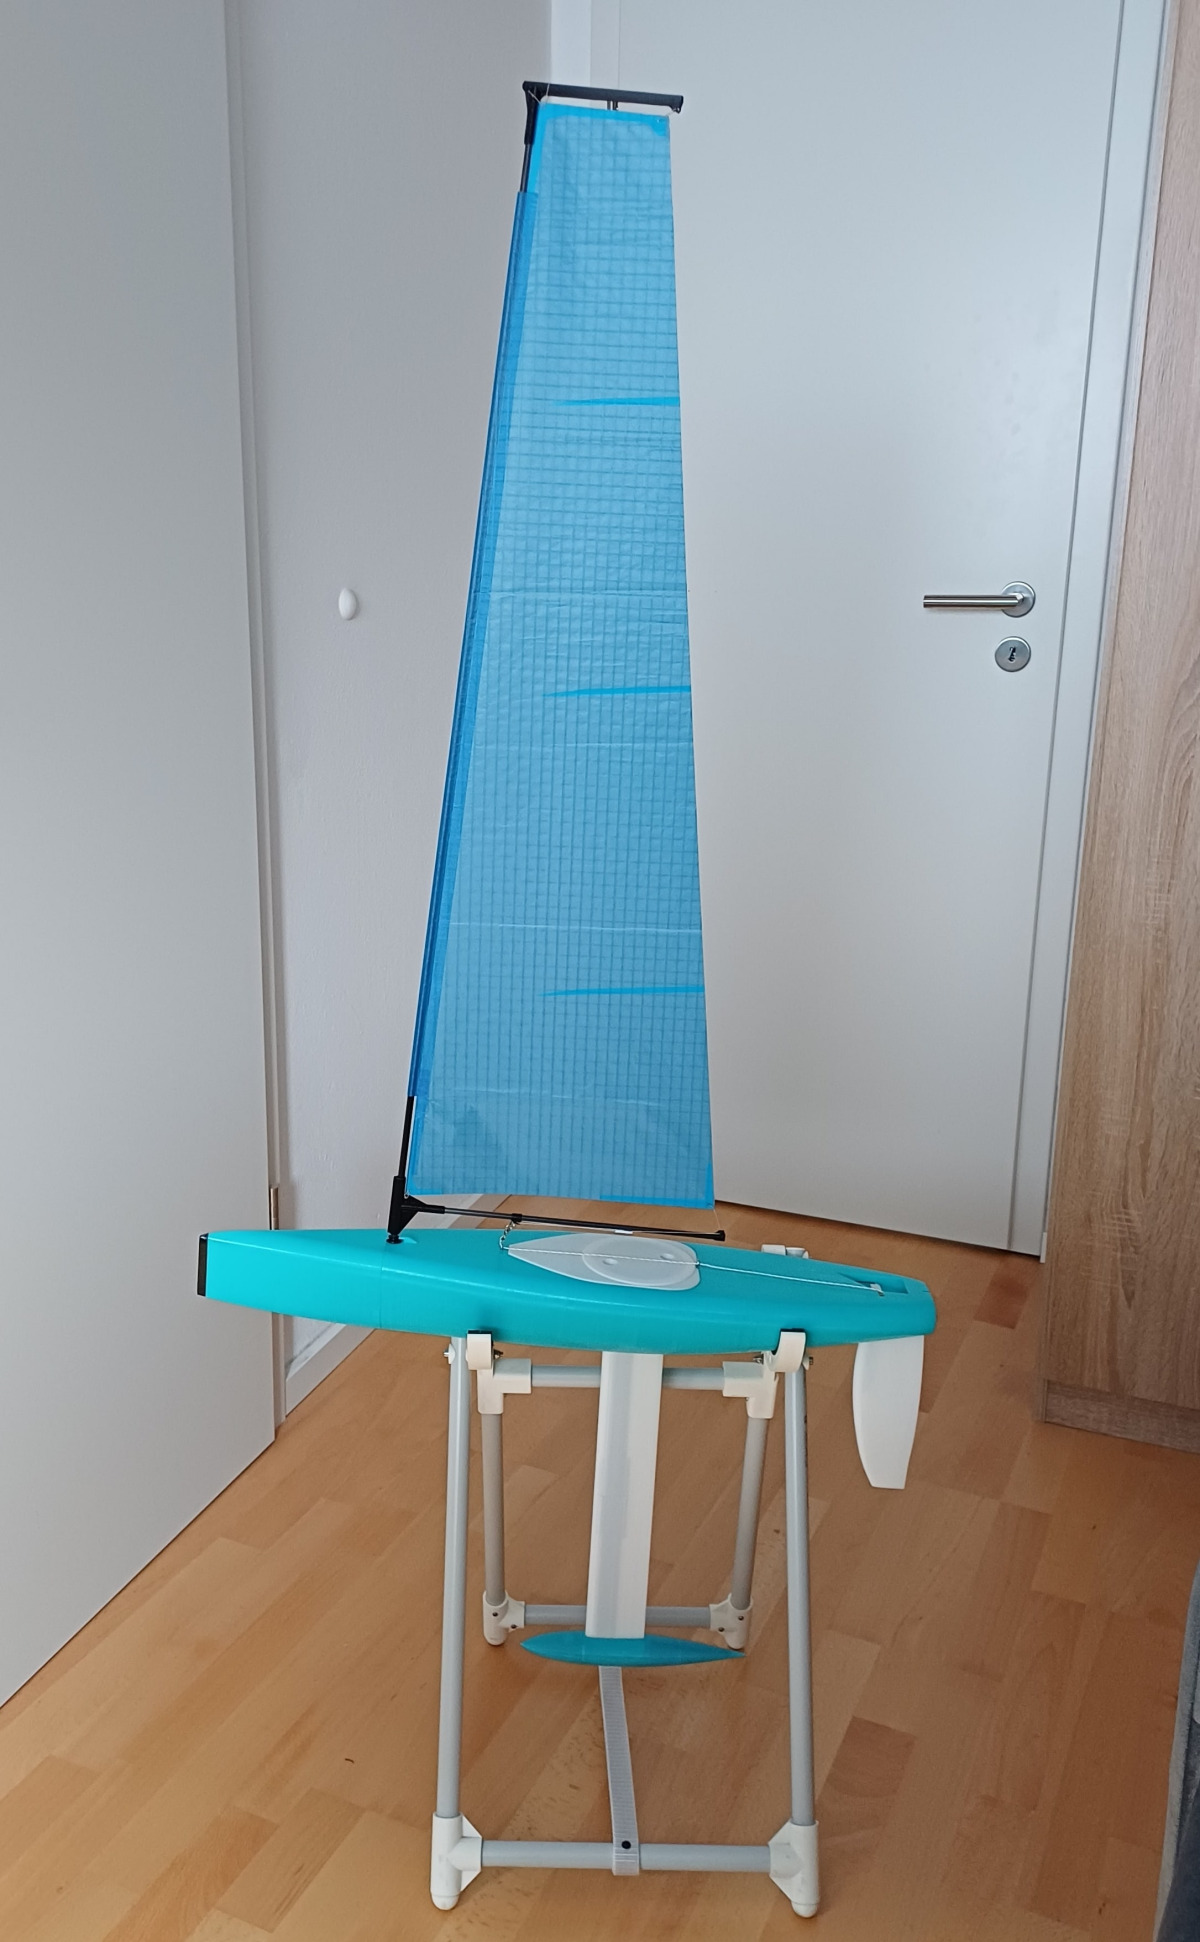
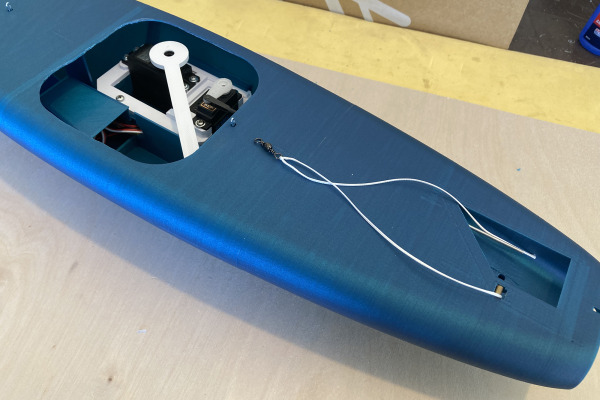
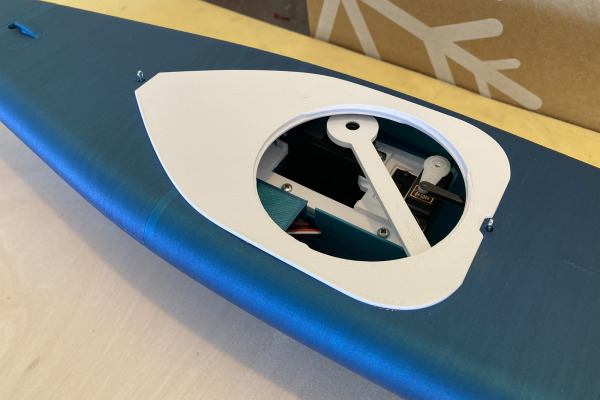
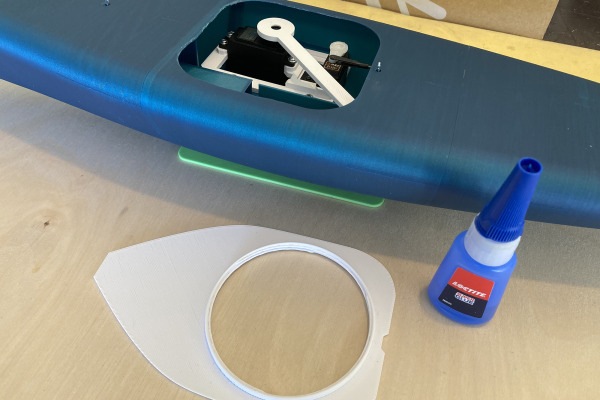
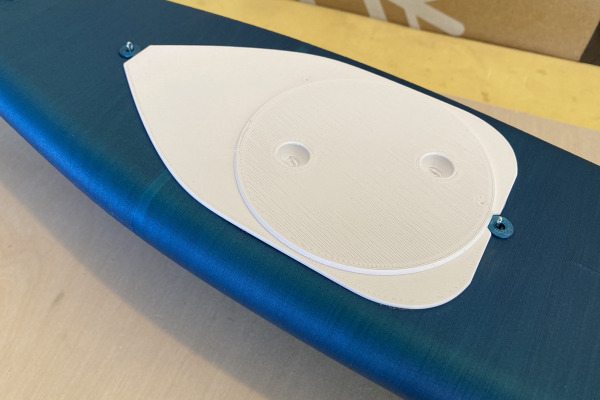
Electrics Mounting
The electrics are installed on a servo tray that is screwed into the boat. It can easily be removed or transferred to another hull. You could build both styles of boat but use one set of electrics. Simply undo 2 screws and the tray pops out.
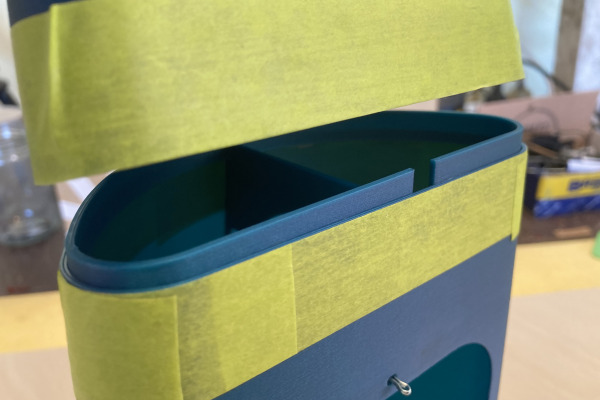
The electrics are neatly stowed in the battery box. The frontside has a lid not shown in the picture. The twist hatch keeps the water out. We've tested it in stormy conditions!
The battery compartment can accomodate 4AA or 4AAA battery packs. We prefer AAA batteries as they are much lighter weight. A saving of around 70g.