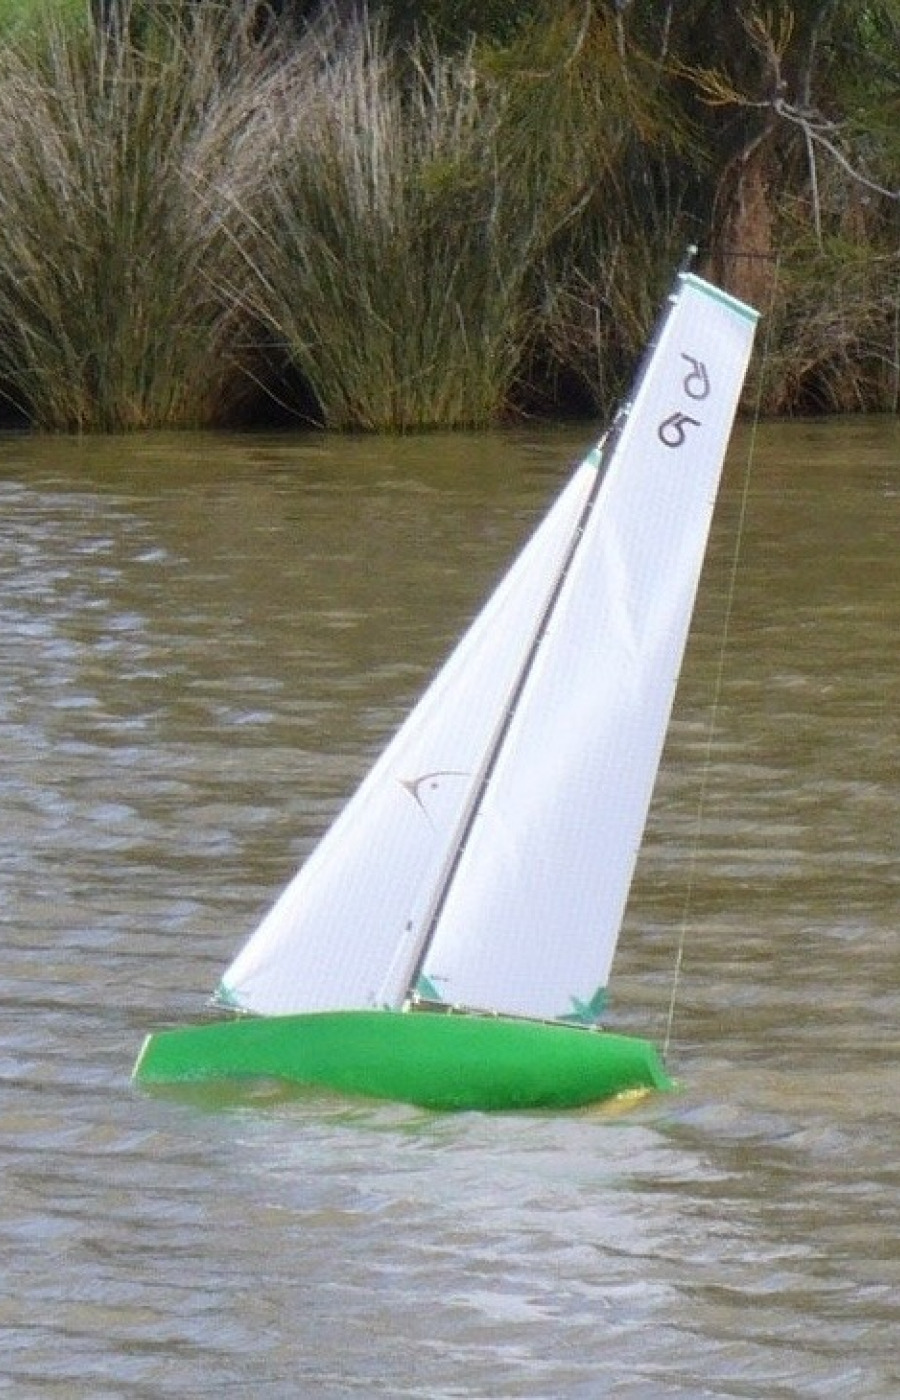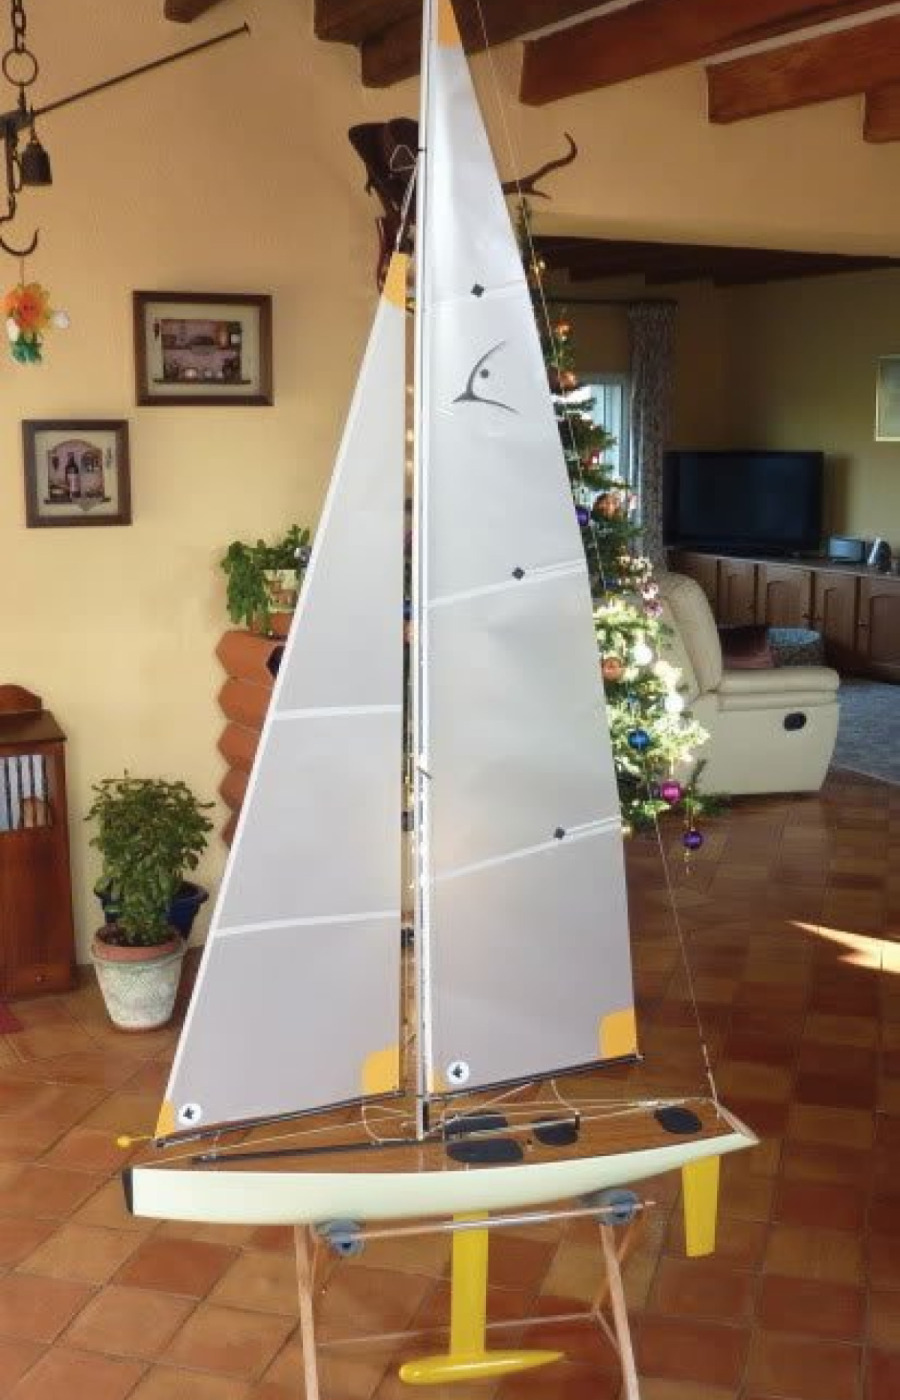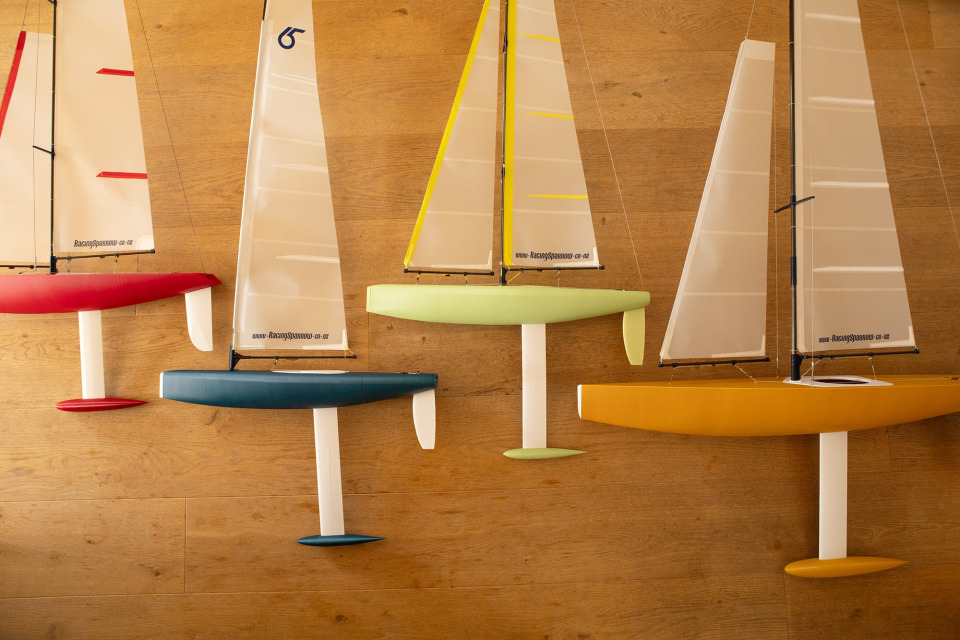
The Racing Sparrow Fleet
Explore our collection of RC sailboats — crafted for builders, hobbyists, and dreamers. Whether you choose cutting-edge 3D printing or the timeless traditions of balsa and fibreglass, each design offers the satisfaction of building with your own hands and the thrill of setting sail on the water.
3D Printable RC Sailboats
These are our range of 3D printable boats. You can buy the STL files for all these boats by clicking the "Buy Files" button in the header. All Racing Sparrow files are supplied via secure Shopify checkout with instant digital delivery and lifetime file access and support.
RS-RG65-3D
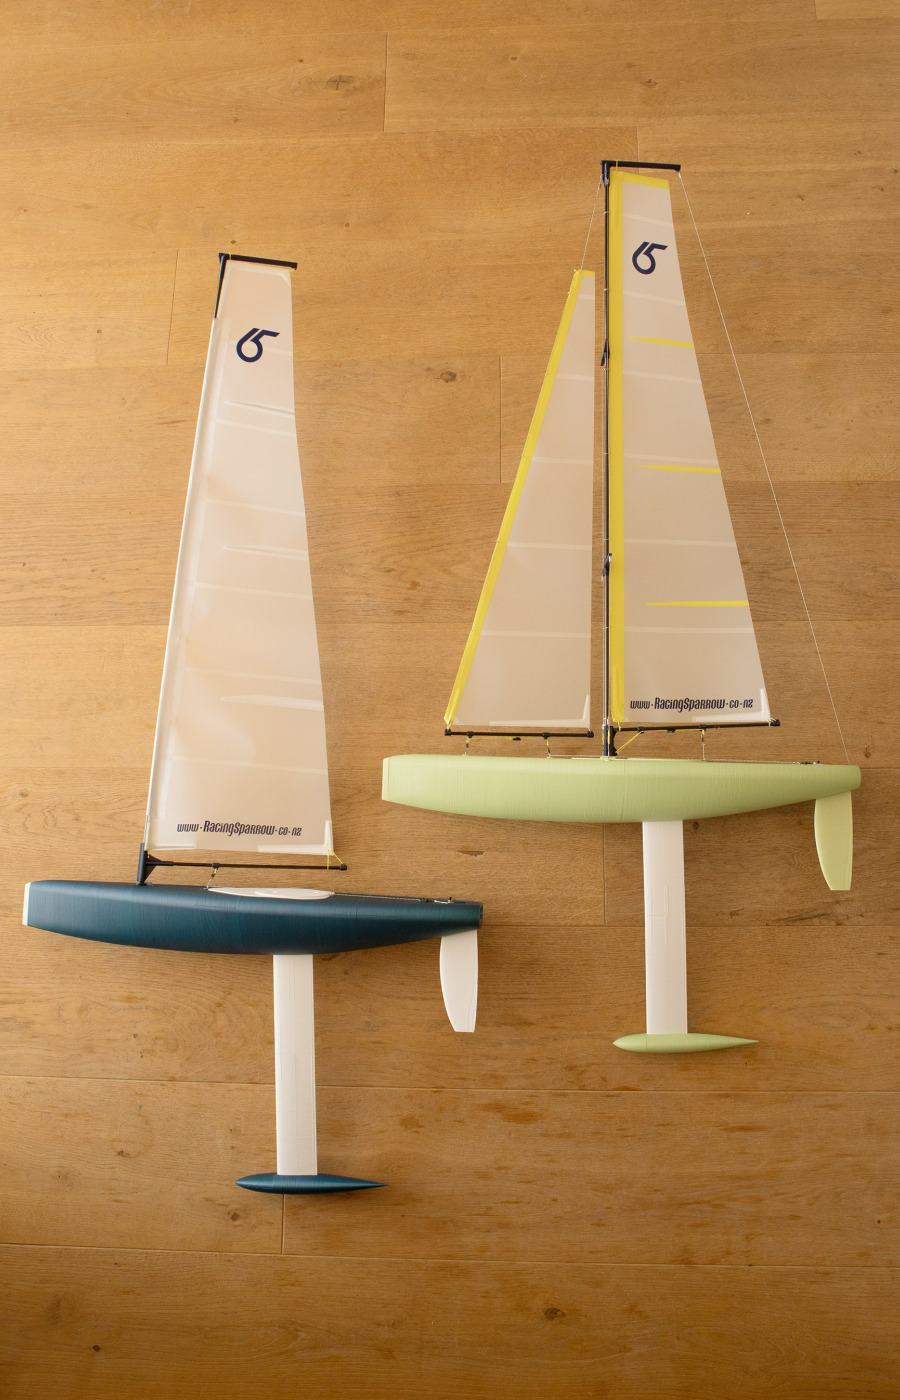
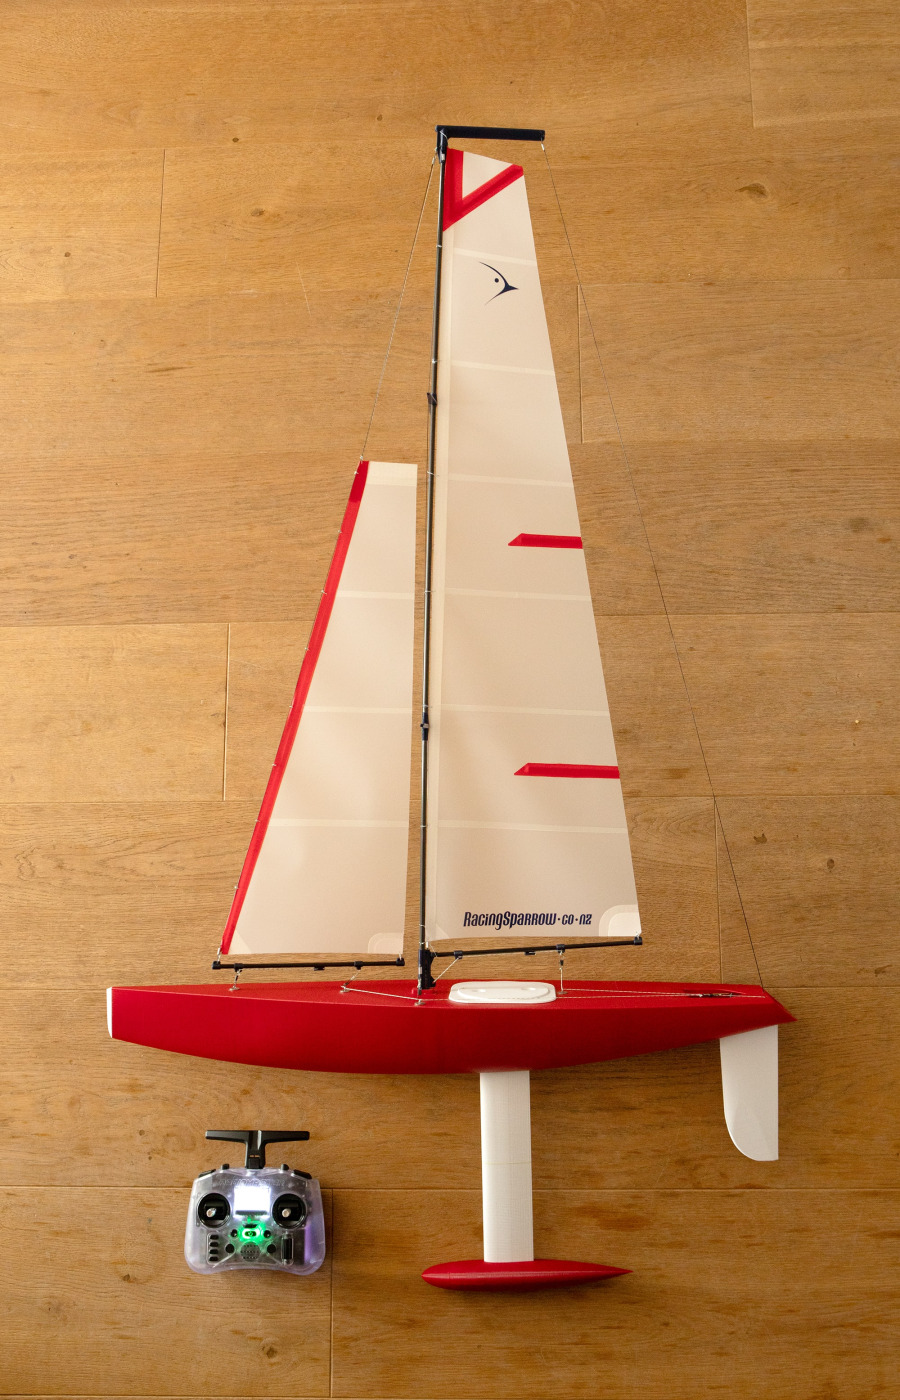
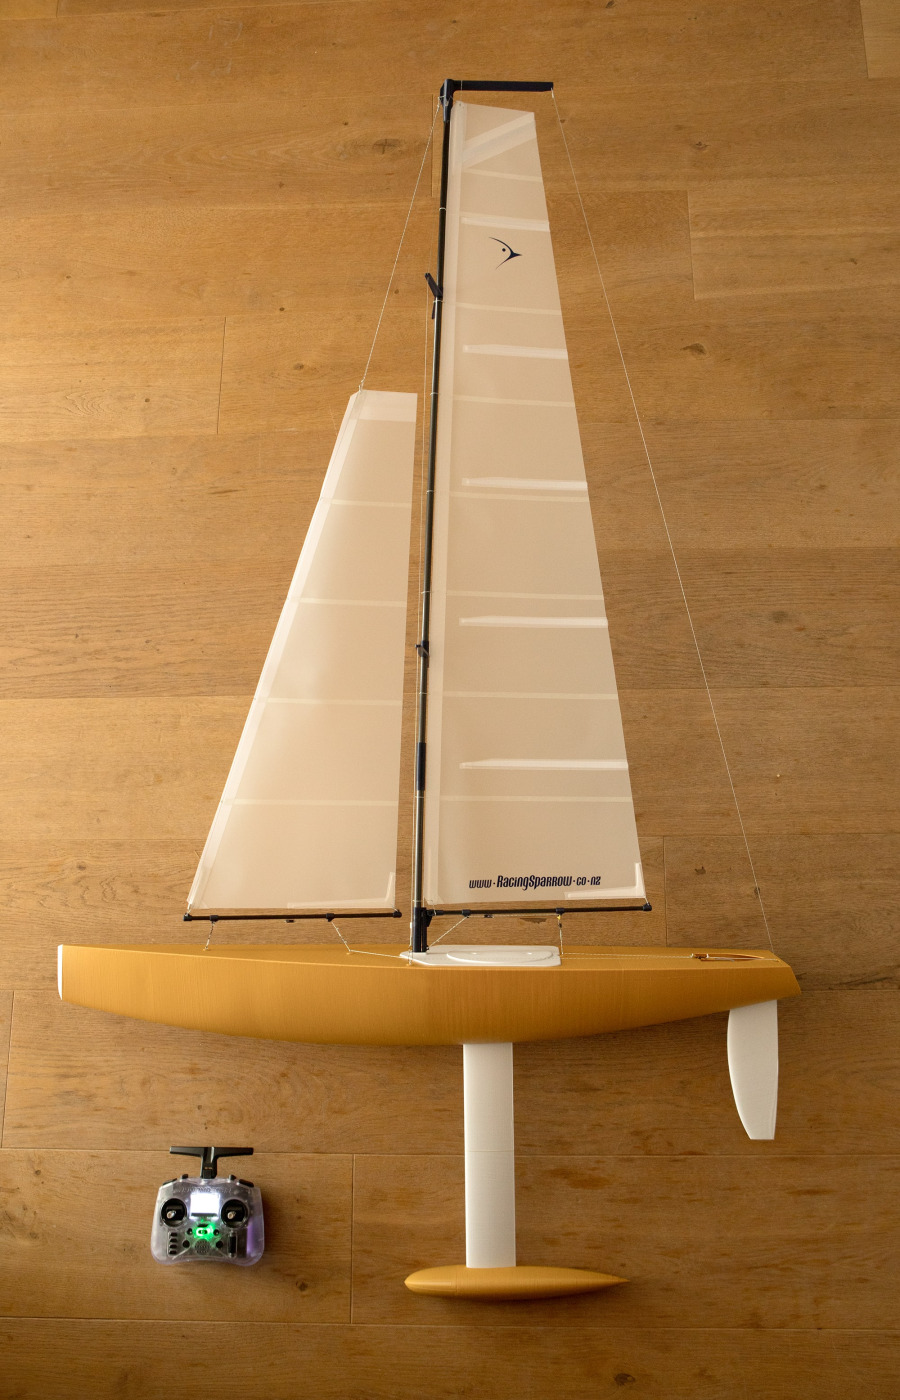
A RG65 Racing Sparrow that comes with options for sails, bulb weights and rudder sizes. You can build this model as a two sail version or a single main sail Una version.
Take a look at the different rig setups of this RG65.RS760-3D
A 3D printed RC yacht that is our original boat but built with modern 3D printed technology. A really easy boat to sail that tracks nicely.
See more details about the RS760-3DRS1000-3D
The powerful 1 meter that is easy to build and fun to sail. This is a scaled up version of the 760 with a longer keel. This boat sails just like a full size yacht without the massive price tag!
See more detail about the RS1000-3DComplete Bundle - All STLs + eBook $59 USD
If you want all the boat STL files and the eBook you can buy the complete bundle for only $59 USD. That's a 35% discount if you were to buy them separately.
When you buy the complete bundle you get an immediate download that includes all STL files for each boat including build instructions and extra printable tooling. You also get the original eBook for traditional balsa and fibreglass building. An excellent knowledge base of information. You also get the 1 metre mold files to 3D print a female mold.
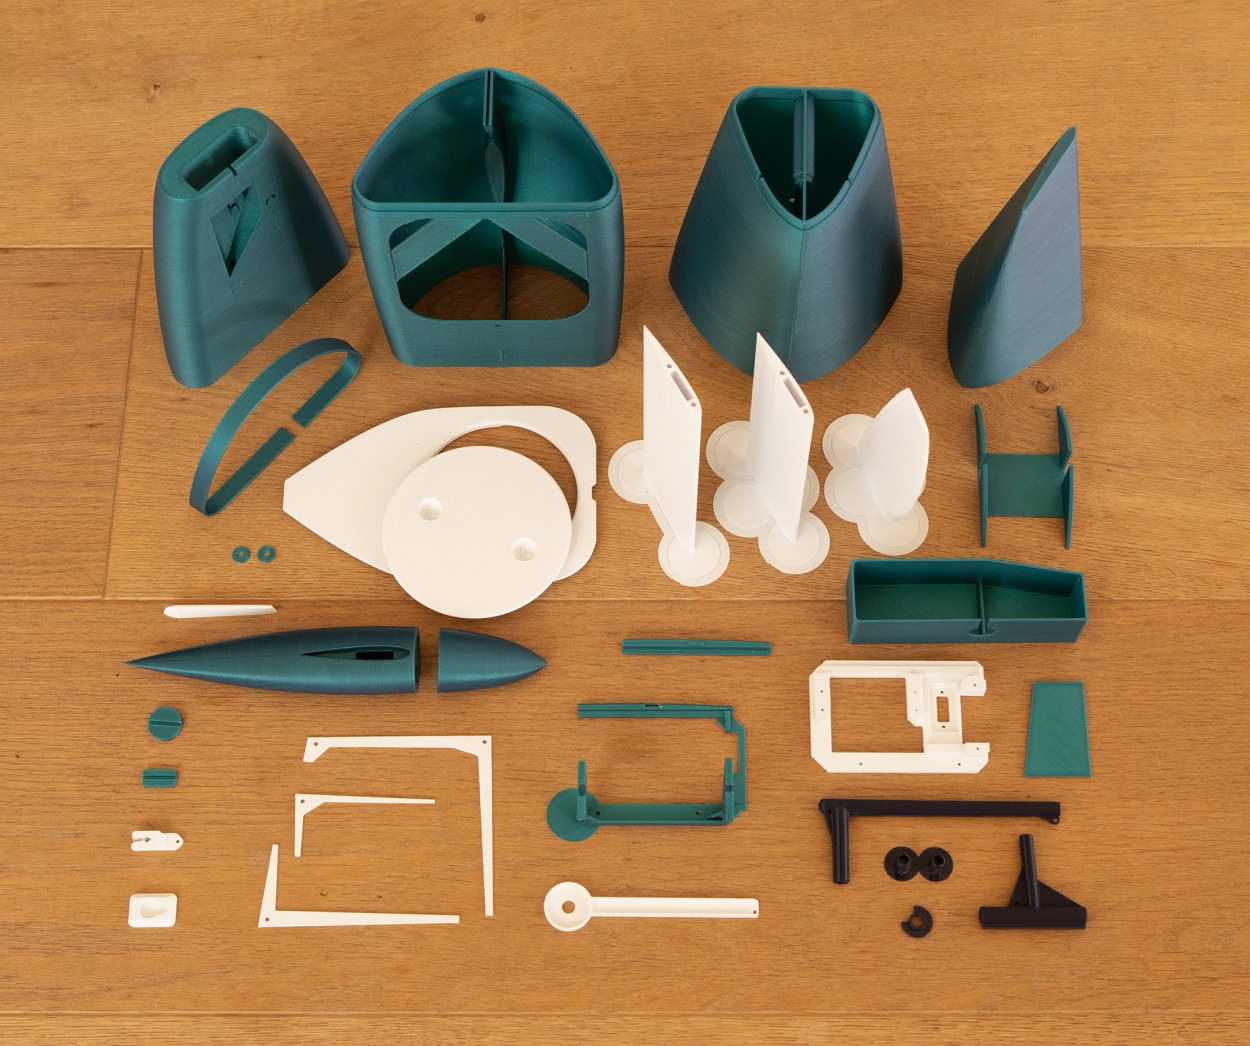
Model Yacht Components
Purchase STL parts like the keel, bulb, rudder, rig, hatch, or even a 1 m mold to combine balsa or carbon builds with precise, waterproof, 3D-printed components.
Upcoming Boat
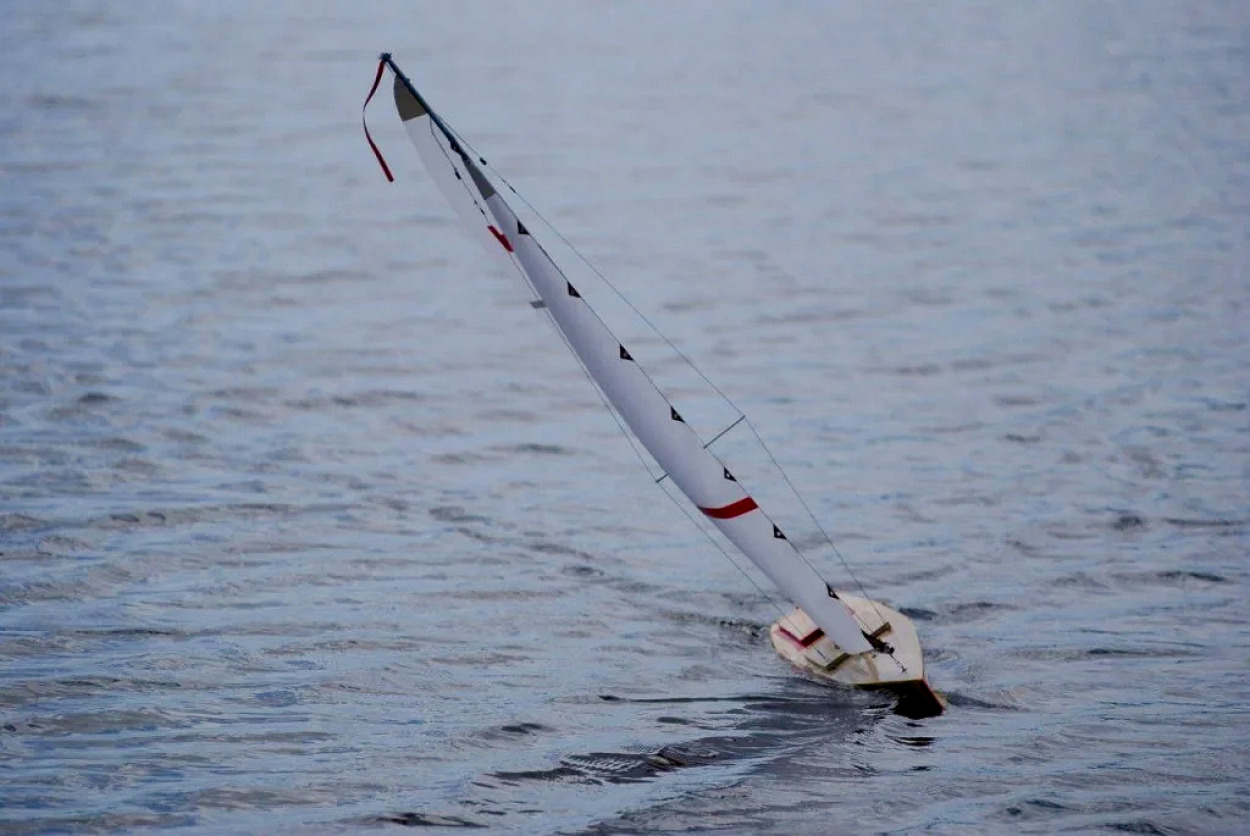
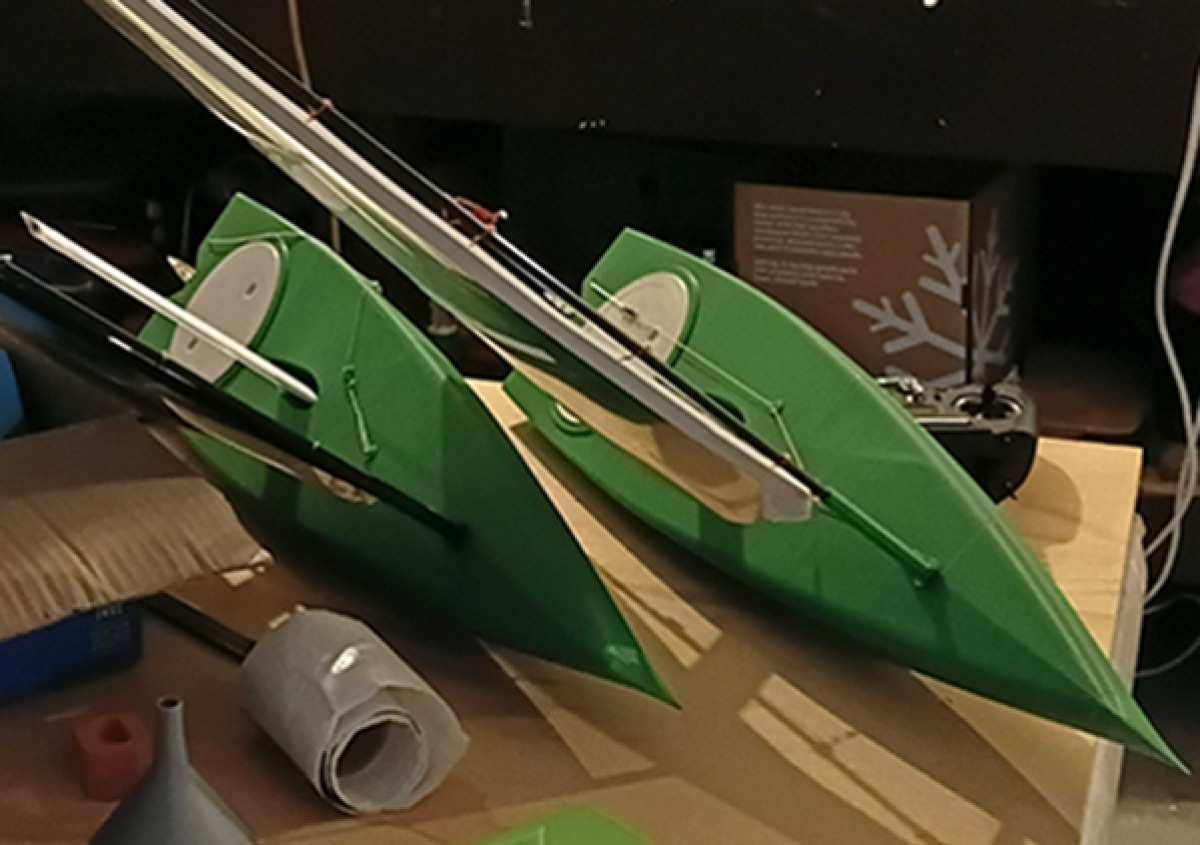
Bryn Heveldt's Twin RS-Ranger 695 test boats, Nelson, New Zealand
This boat is getting close to release. Join my email list to get notified when the STLs become available.
Balsa Boats
These are our traditional build boats supported by the eBook Building Guide which you can purchase to guide you through the process of building your own radio controlled sailboat.
RS-RG65-Balsa
A robust and fast RG65 made from balsa. The eBook can be used in conjunction with this design.
Download the Plans for freeRS750-Balsa
The original traditional build model yacht that is featured in the eBook.
Build a Boat eBookRS1000-Balsa
A traditional balsa and fibreglass built boat. A great performing model with some exceptional power.
Download the Plans for freeOur ethos and values
We have designed all of our boats for the beginner rc sailor. When we first began our rc sailboat journey the entry bar was so high we didn't know where to start. We are attempting to bridge this gap by providing simplified designs and build methods.
We also design everything to use everyday materials that are readily available and cheap. Simple standard servos and standardised material lengths. We avoid specialist parts and have designed around this challenge by coming up with innovative ways to achieve the same thing as an expensive hard to find part.
While racing RC yachts is great fun, we don't focus on that aspect. Racing comes next, once you are hooked and looking for the next challenge in this awesome and rewarding hobby.
